I am currently investigating the potential of various invasive species in my area as dye stuff, and my first target was Nandina domestica, also know as heavenly bamboo. A precursory search with the key words “Nandina” and “Dye” will yield a few illusive and questionably reliable claims that the stems can yield a blueish-brown color. I received no such results when I attempted it, but I did notice a bright yellow present just beneath the bark.
Upon further research into the source of this color, I learned it was the compound berberine. Berberine is an alkaloid that has historically been used as a pigment with a golden-yellow hue, and can be extracted using an alcohol extraction. As my previous attempts had just been the usually low temperature stewing in water usually done in natural dyeing, I thought an Alcohol extraction sounded quite promising!
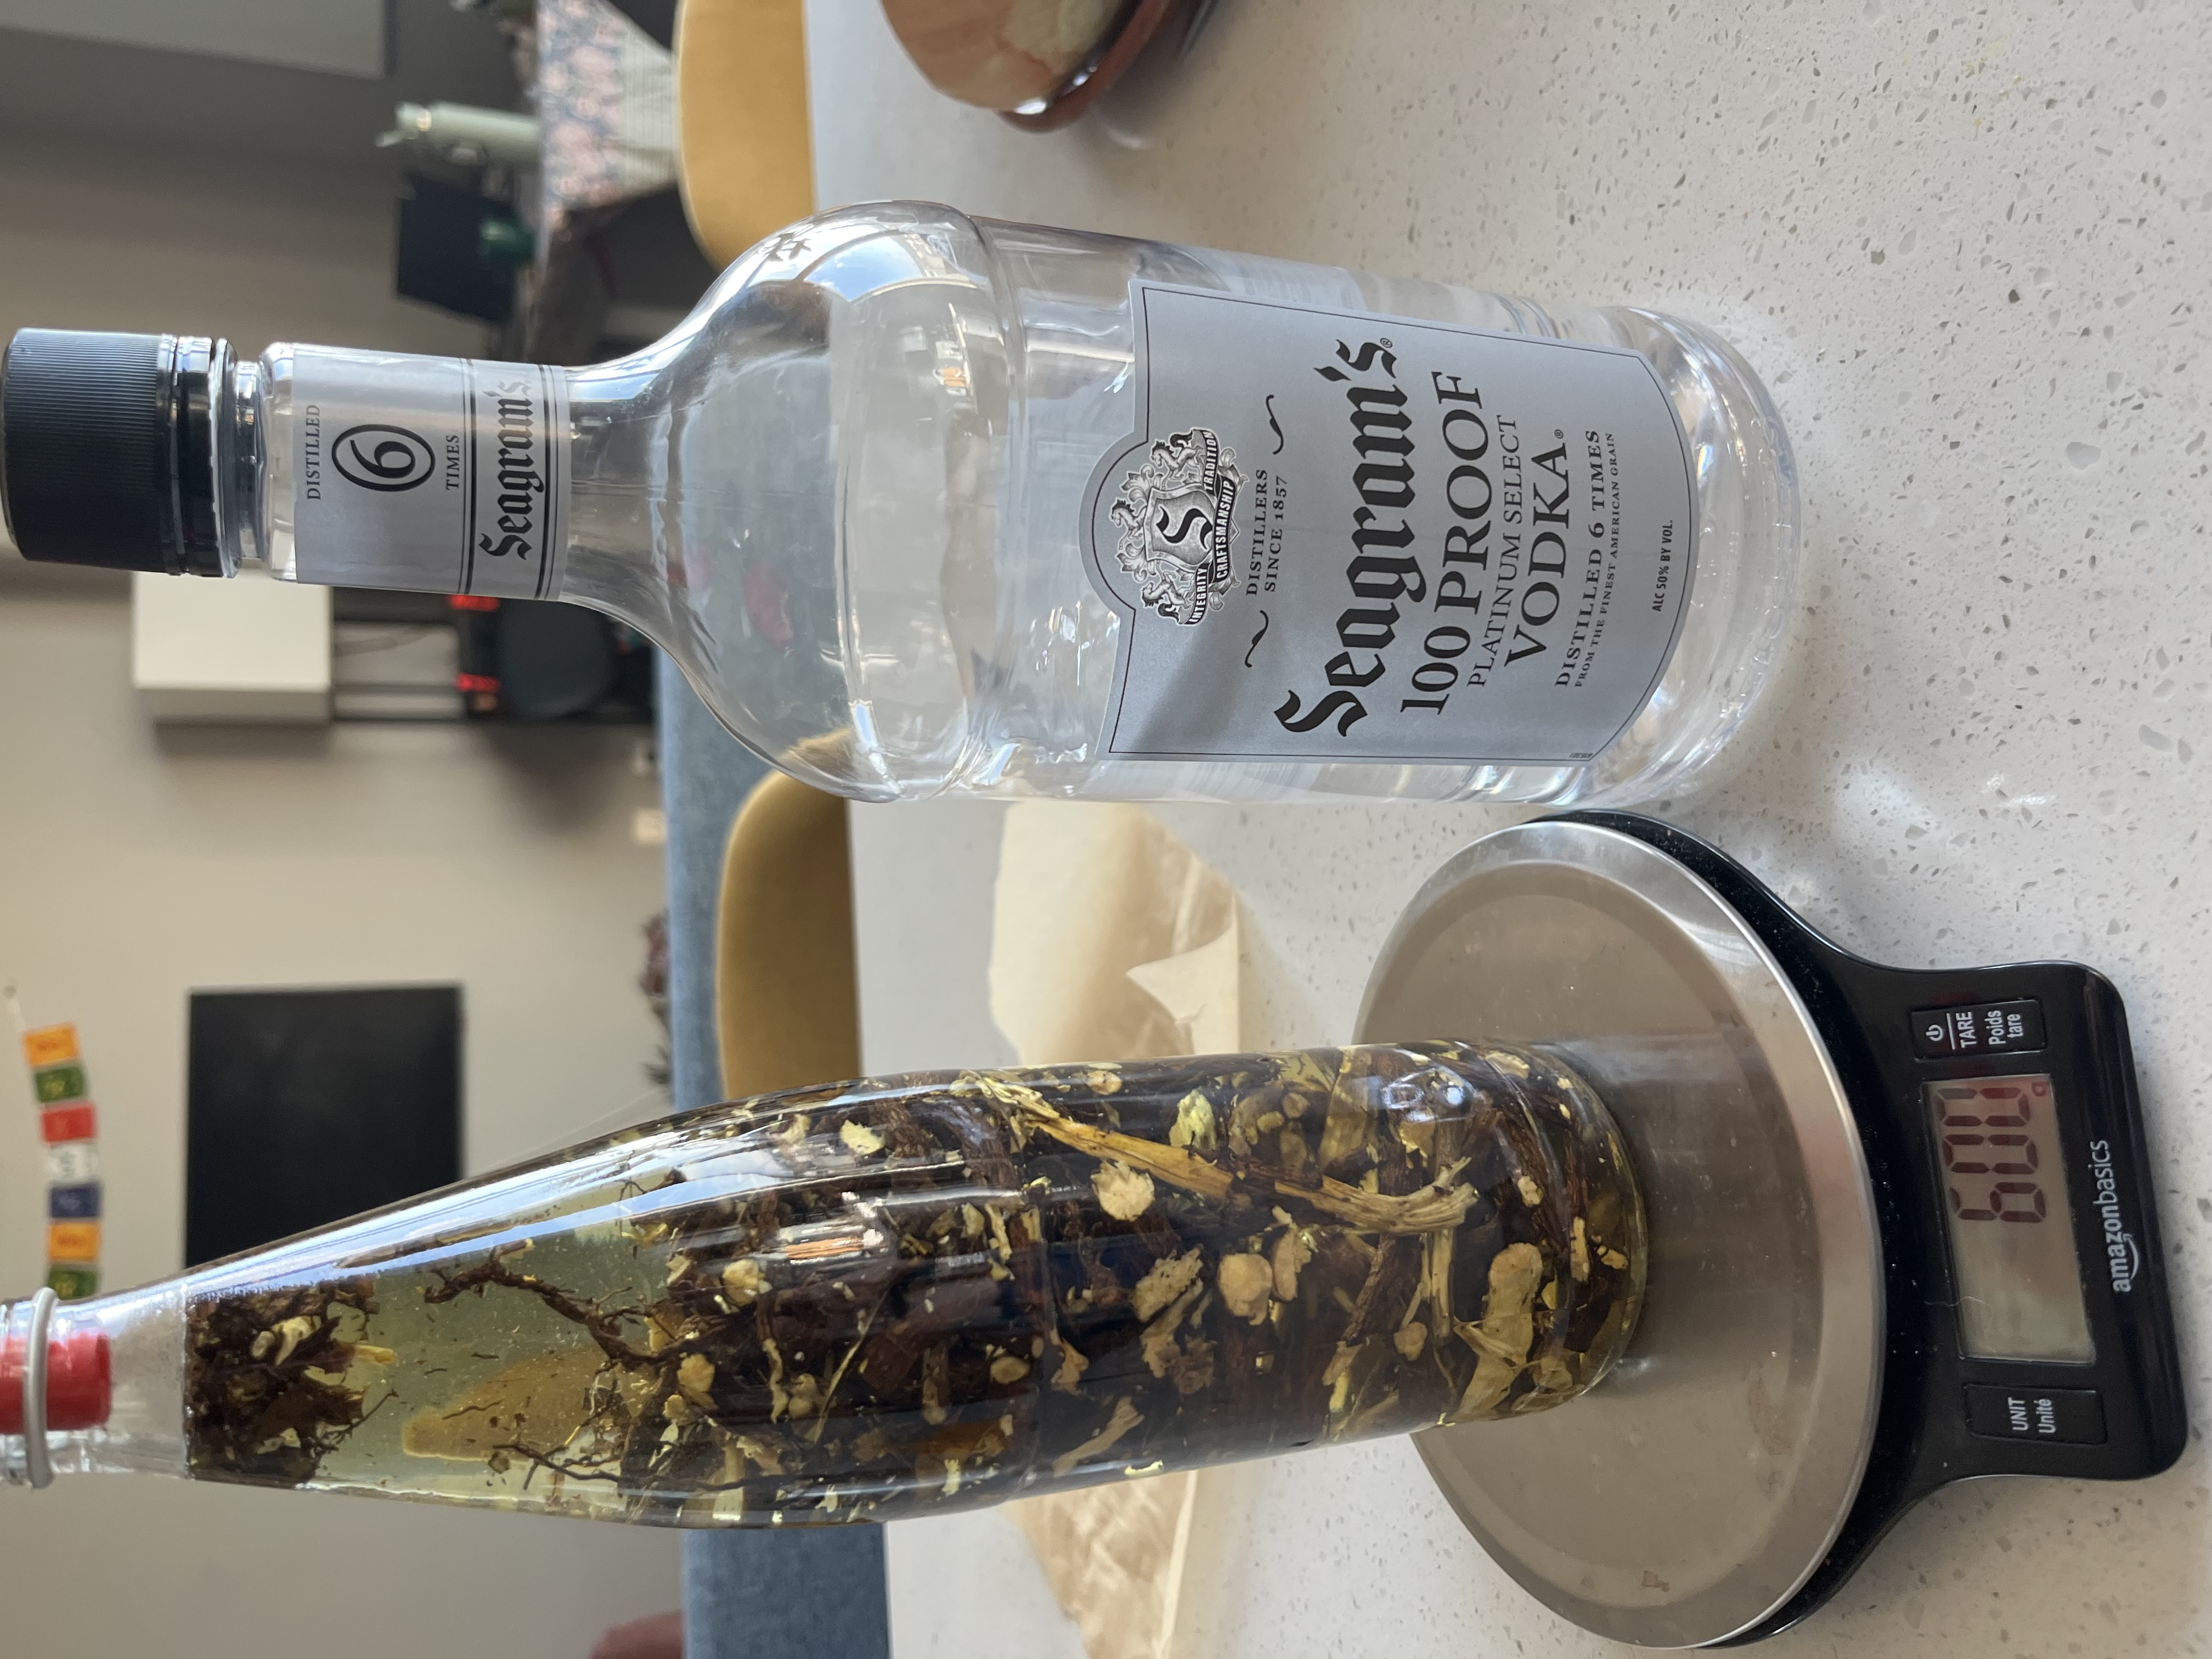
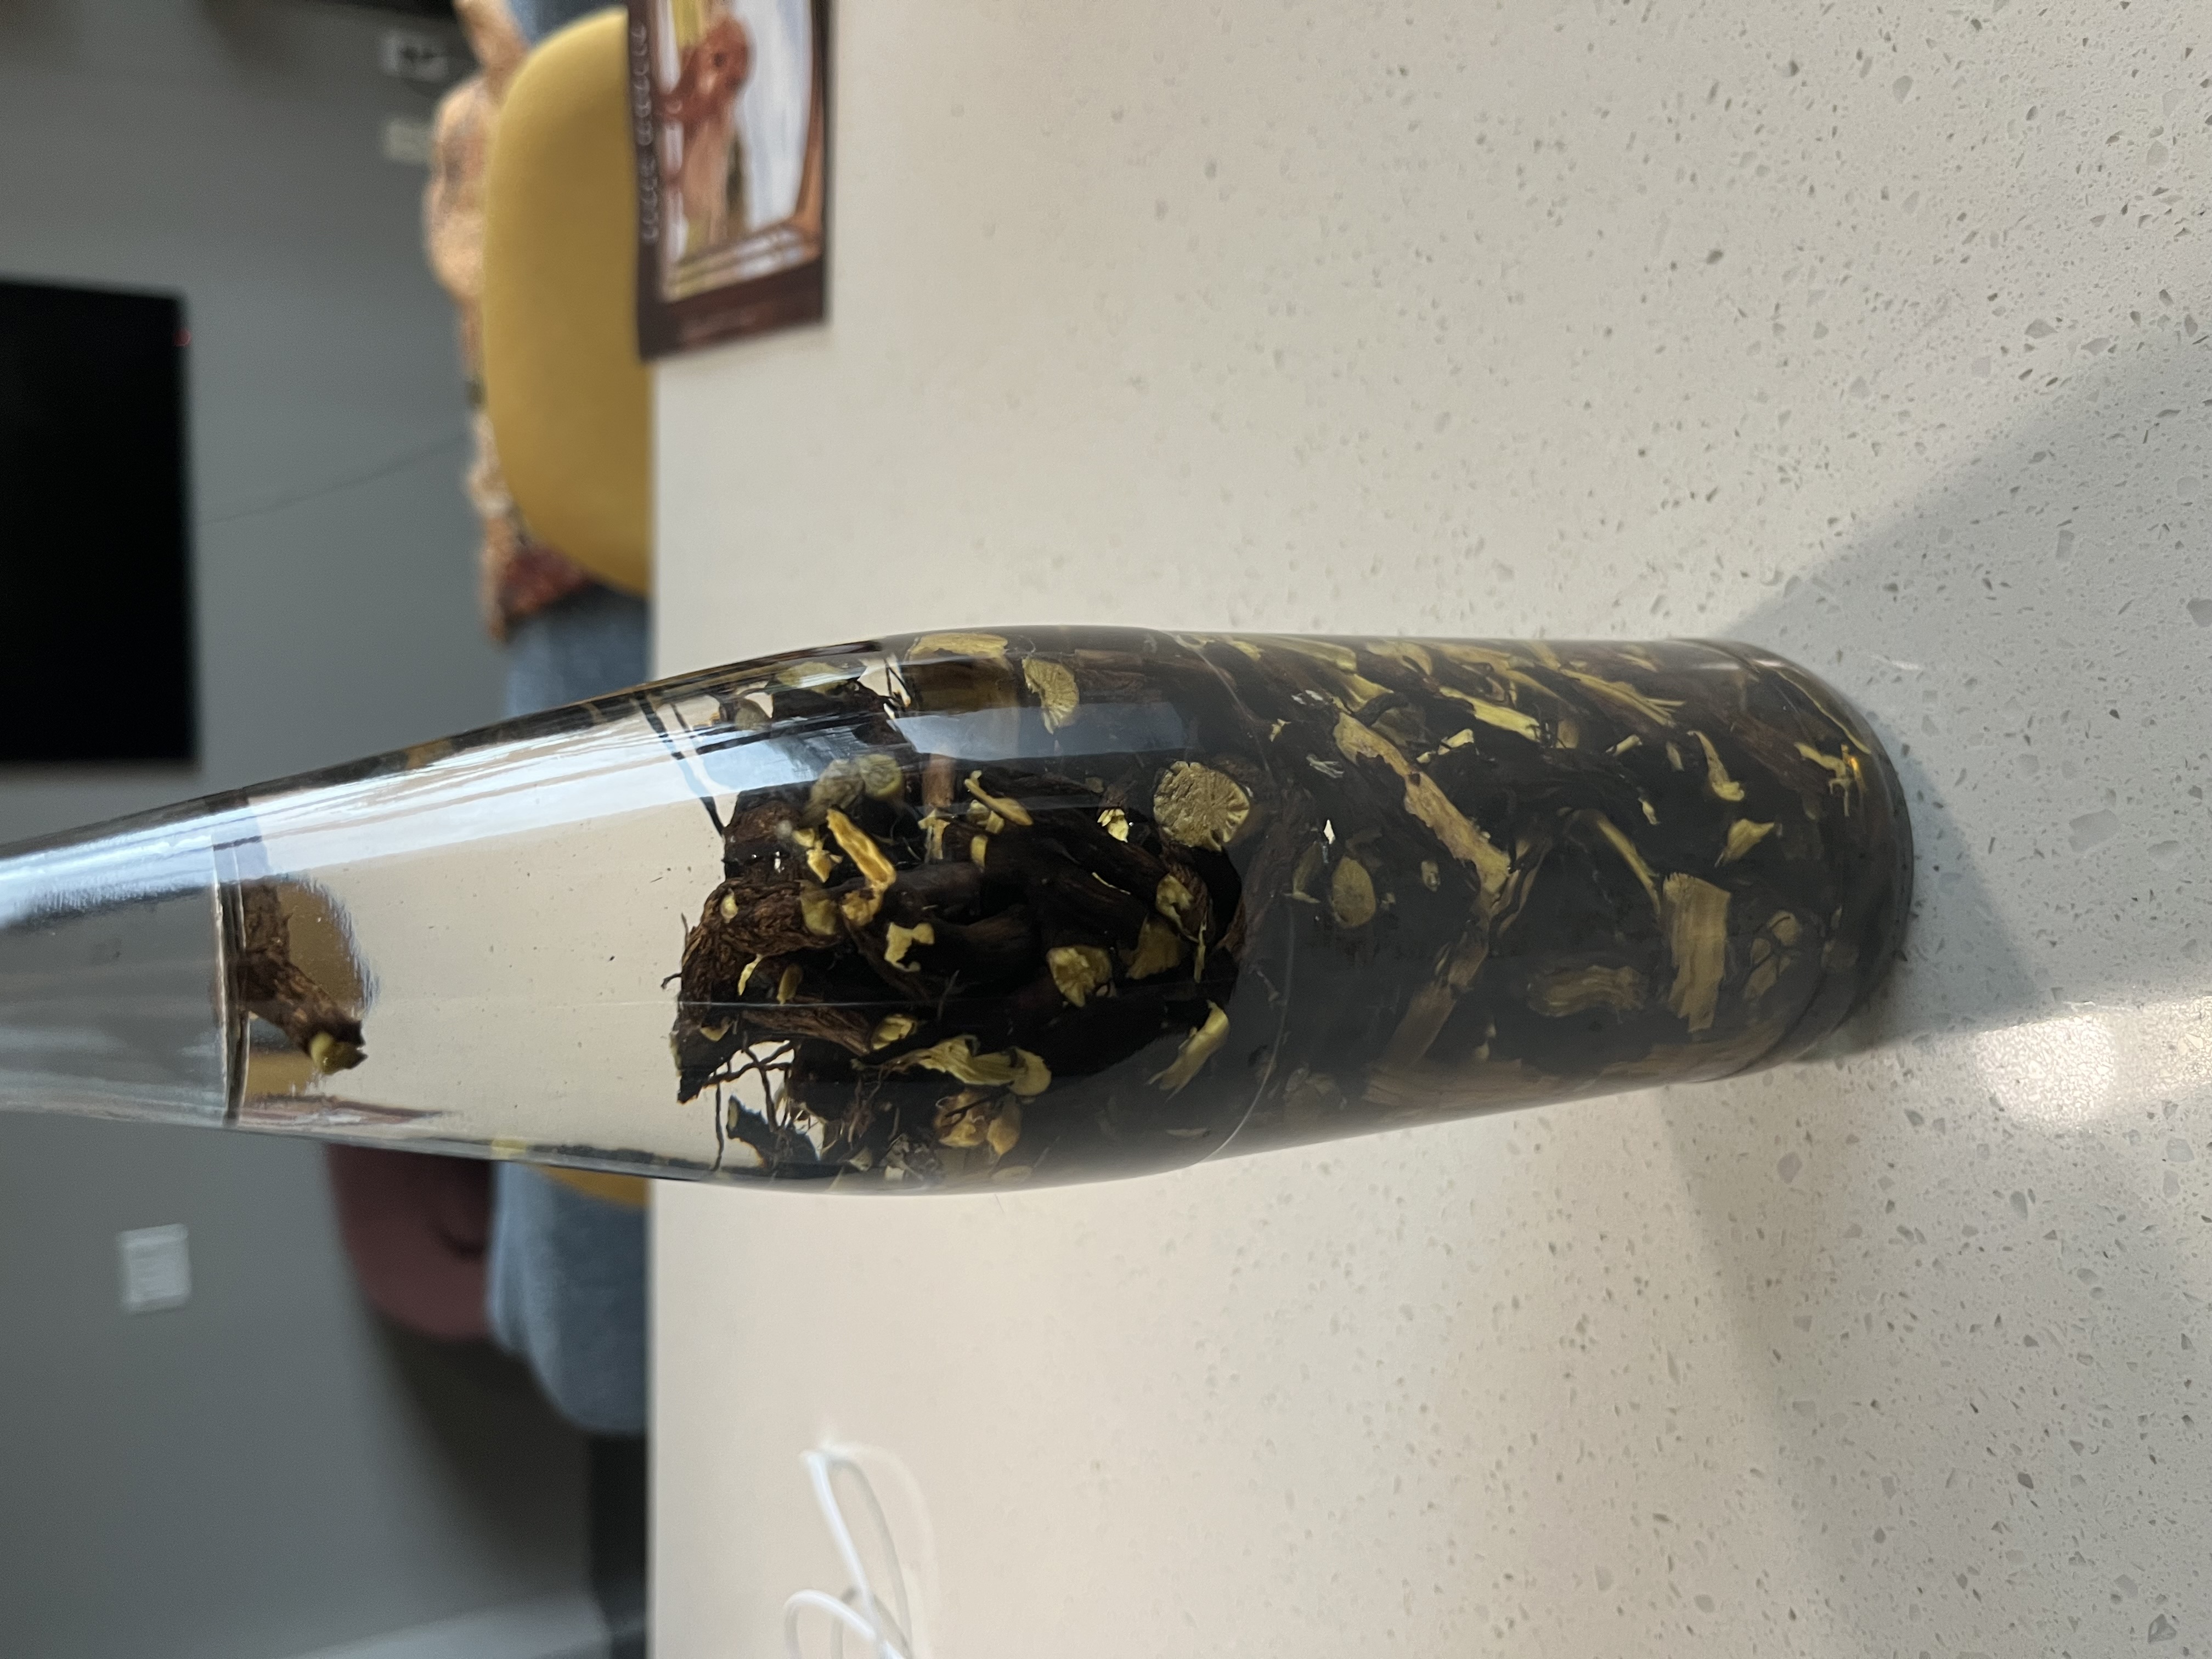
So I proceeded to my local liquor store to purchase the highest proof I could find! This was followed by a trip to a local Nandina patch , and an hour or so of digging. This yielded me 162g of roots, which would be more than enough for my experiment.
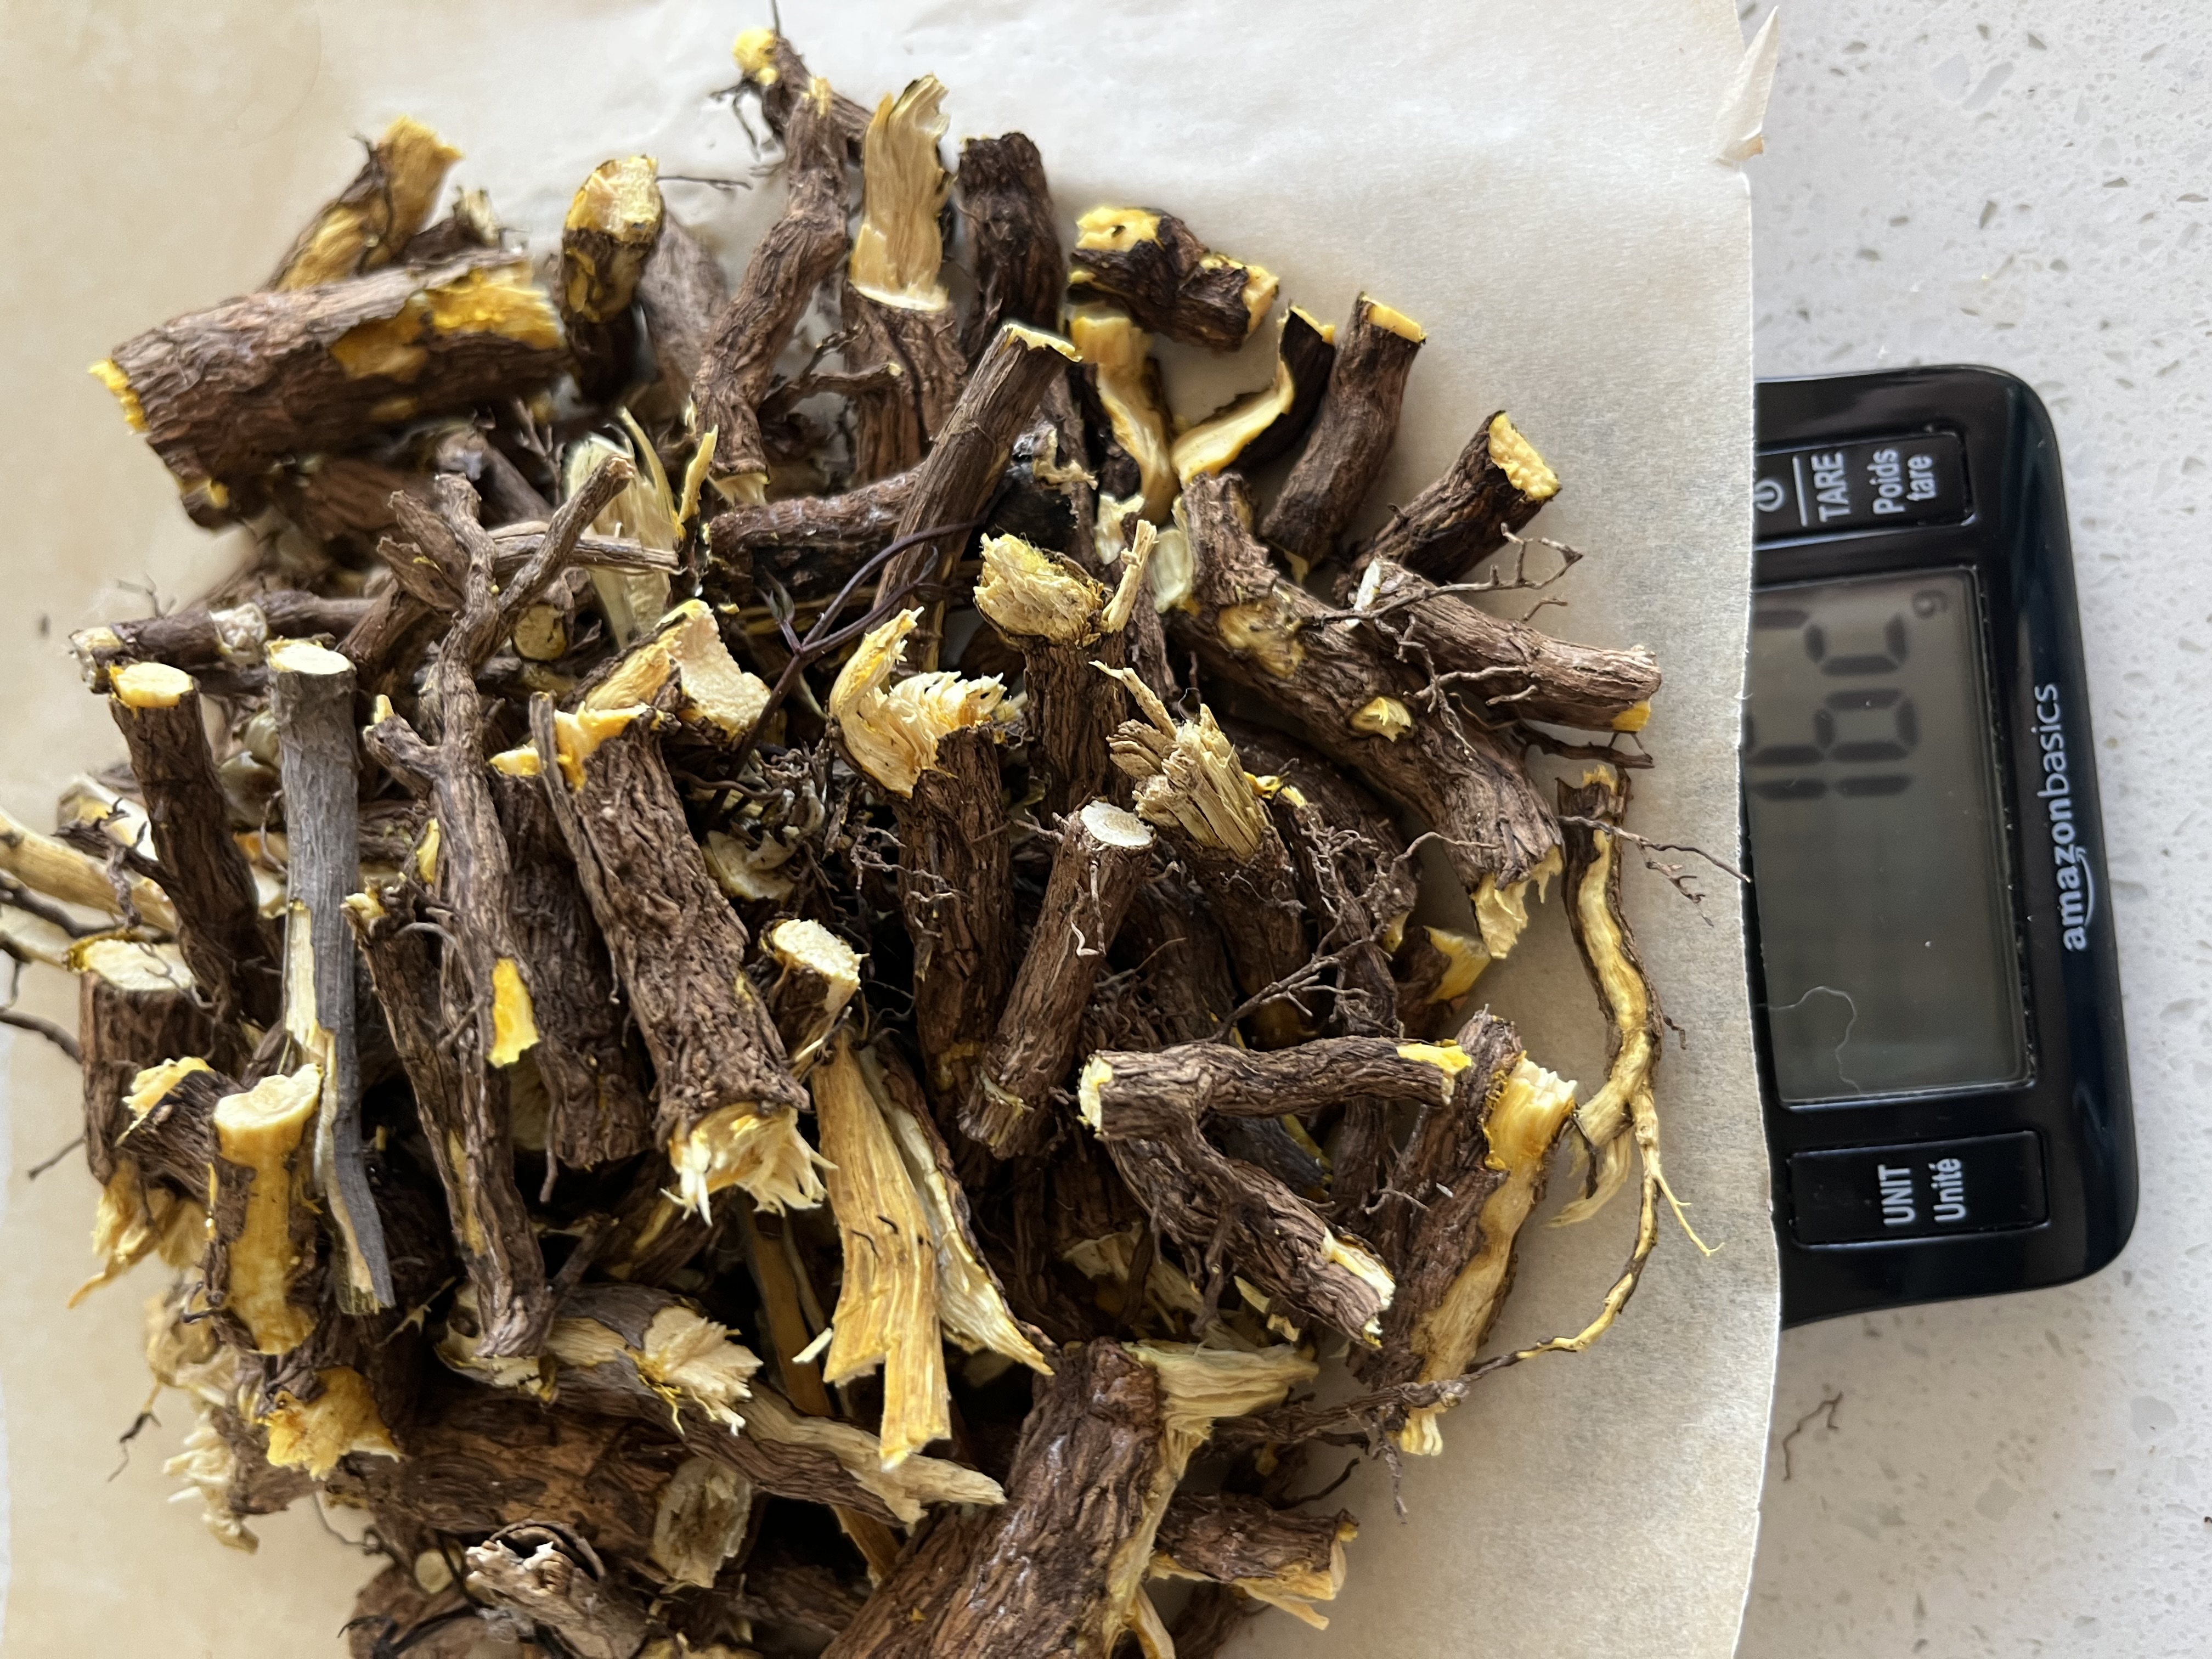
Once I chopped them into small enough pieces (a messy process done with a hatchet at my kitchen counter due to my clippers being in the mail on the way back from being forgotten at a friends) I put them all into a bottle. You may be wondering why I didn’t use a jar they could easily be removed from, and the answer is that I was impatient to get started and didn’t have an empty at hand. I then filled the bottle with 100 proof vodka and have it a shake!
I let the extraction steep for 5 days. While it was steeping I began preparing my yarn for dyeing. The yarn I am using is an 80% Merino 20% Angora blend that I got on sale at knit pics. The first step was scouring, which I did with about 7g dawn dish soap for a 50g skein, and kept just below a simmer for around 45 minutes.
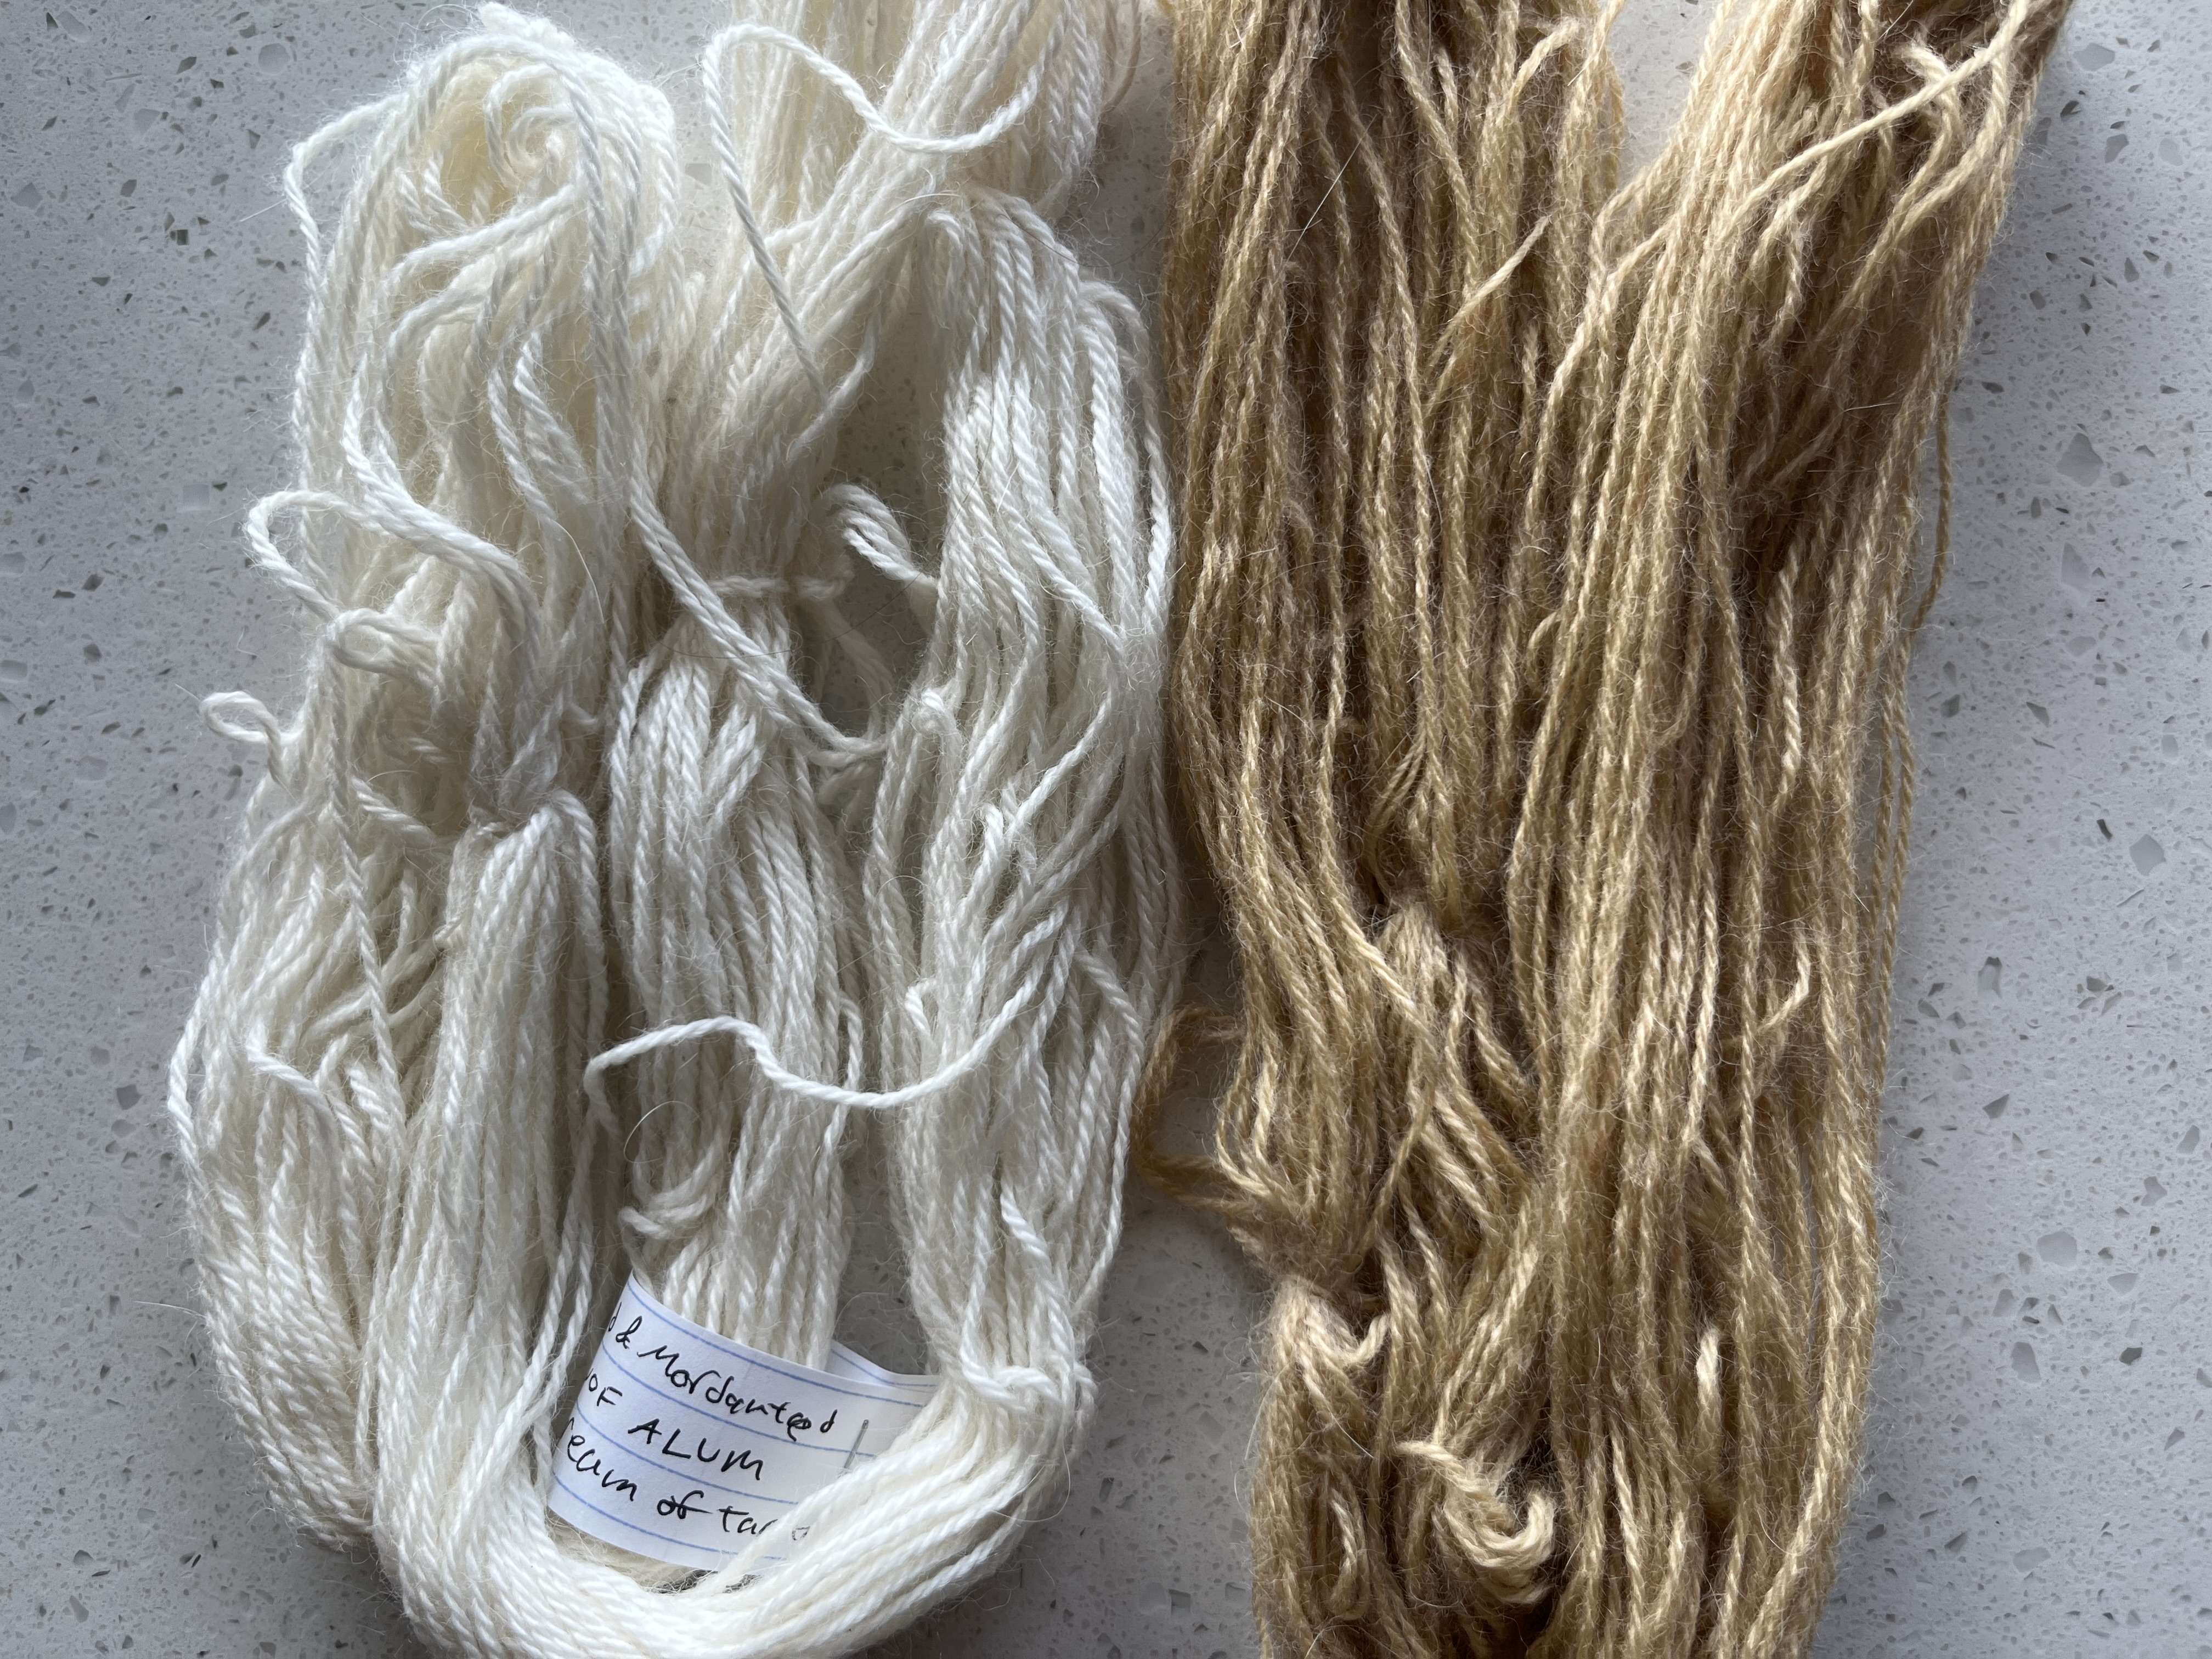
After scouring, I rinsed the yarn twice and moved it immediately to the mordant bath. I mordant with 15% WOF Alum Sulfate and included 7% WOF cream of tartar to help keep the yarn soft. I kept the mordant bath just below a simmer for an hour, then let the yarn and water cool until it was room temp (several hours). After taking the yarn out I gave it a quick rinse and set it to dry.
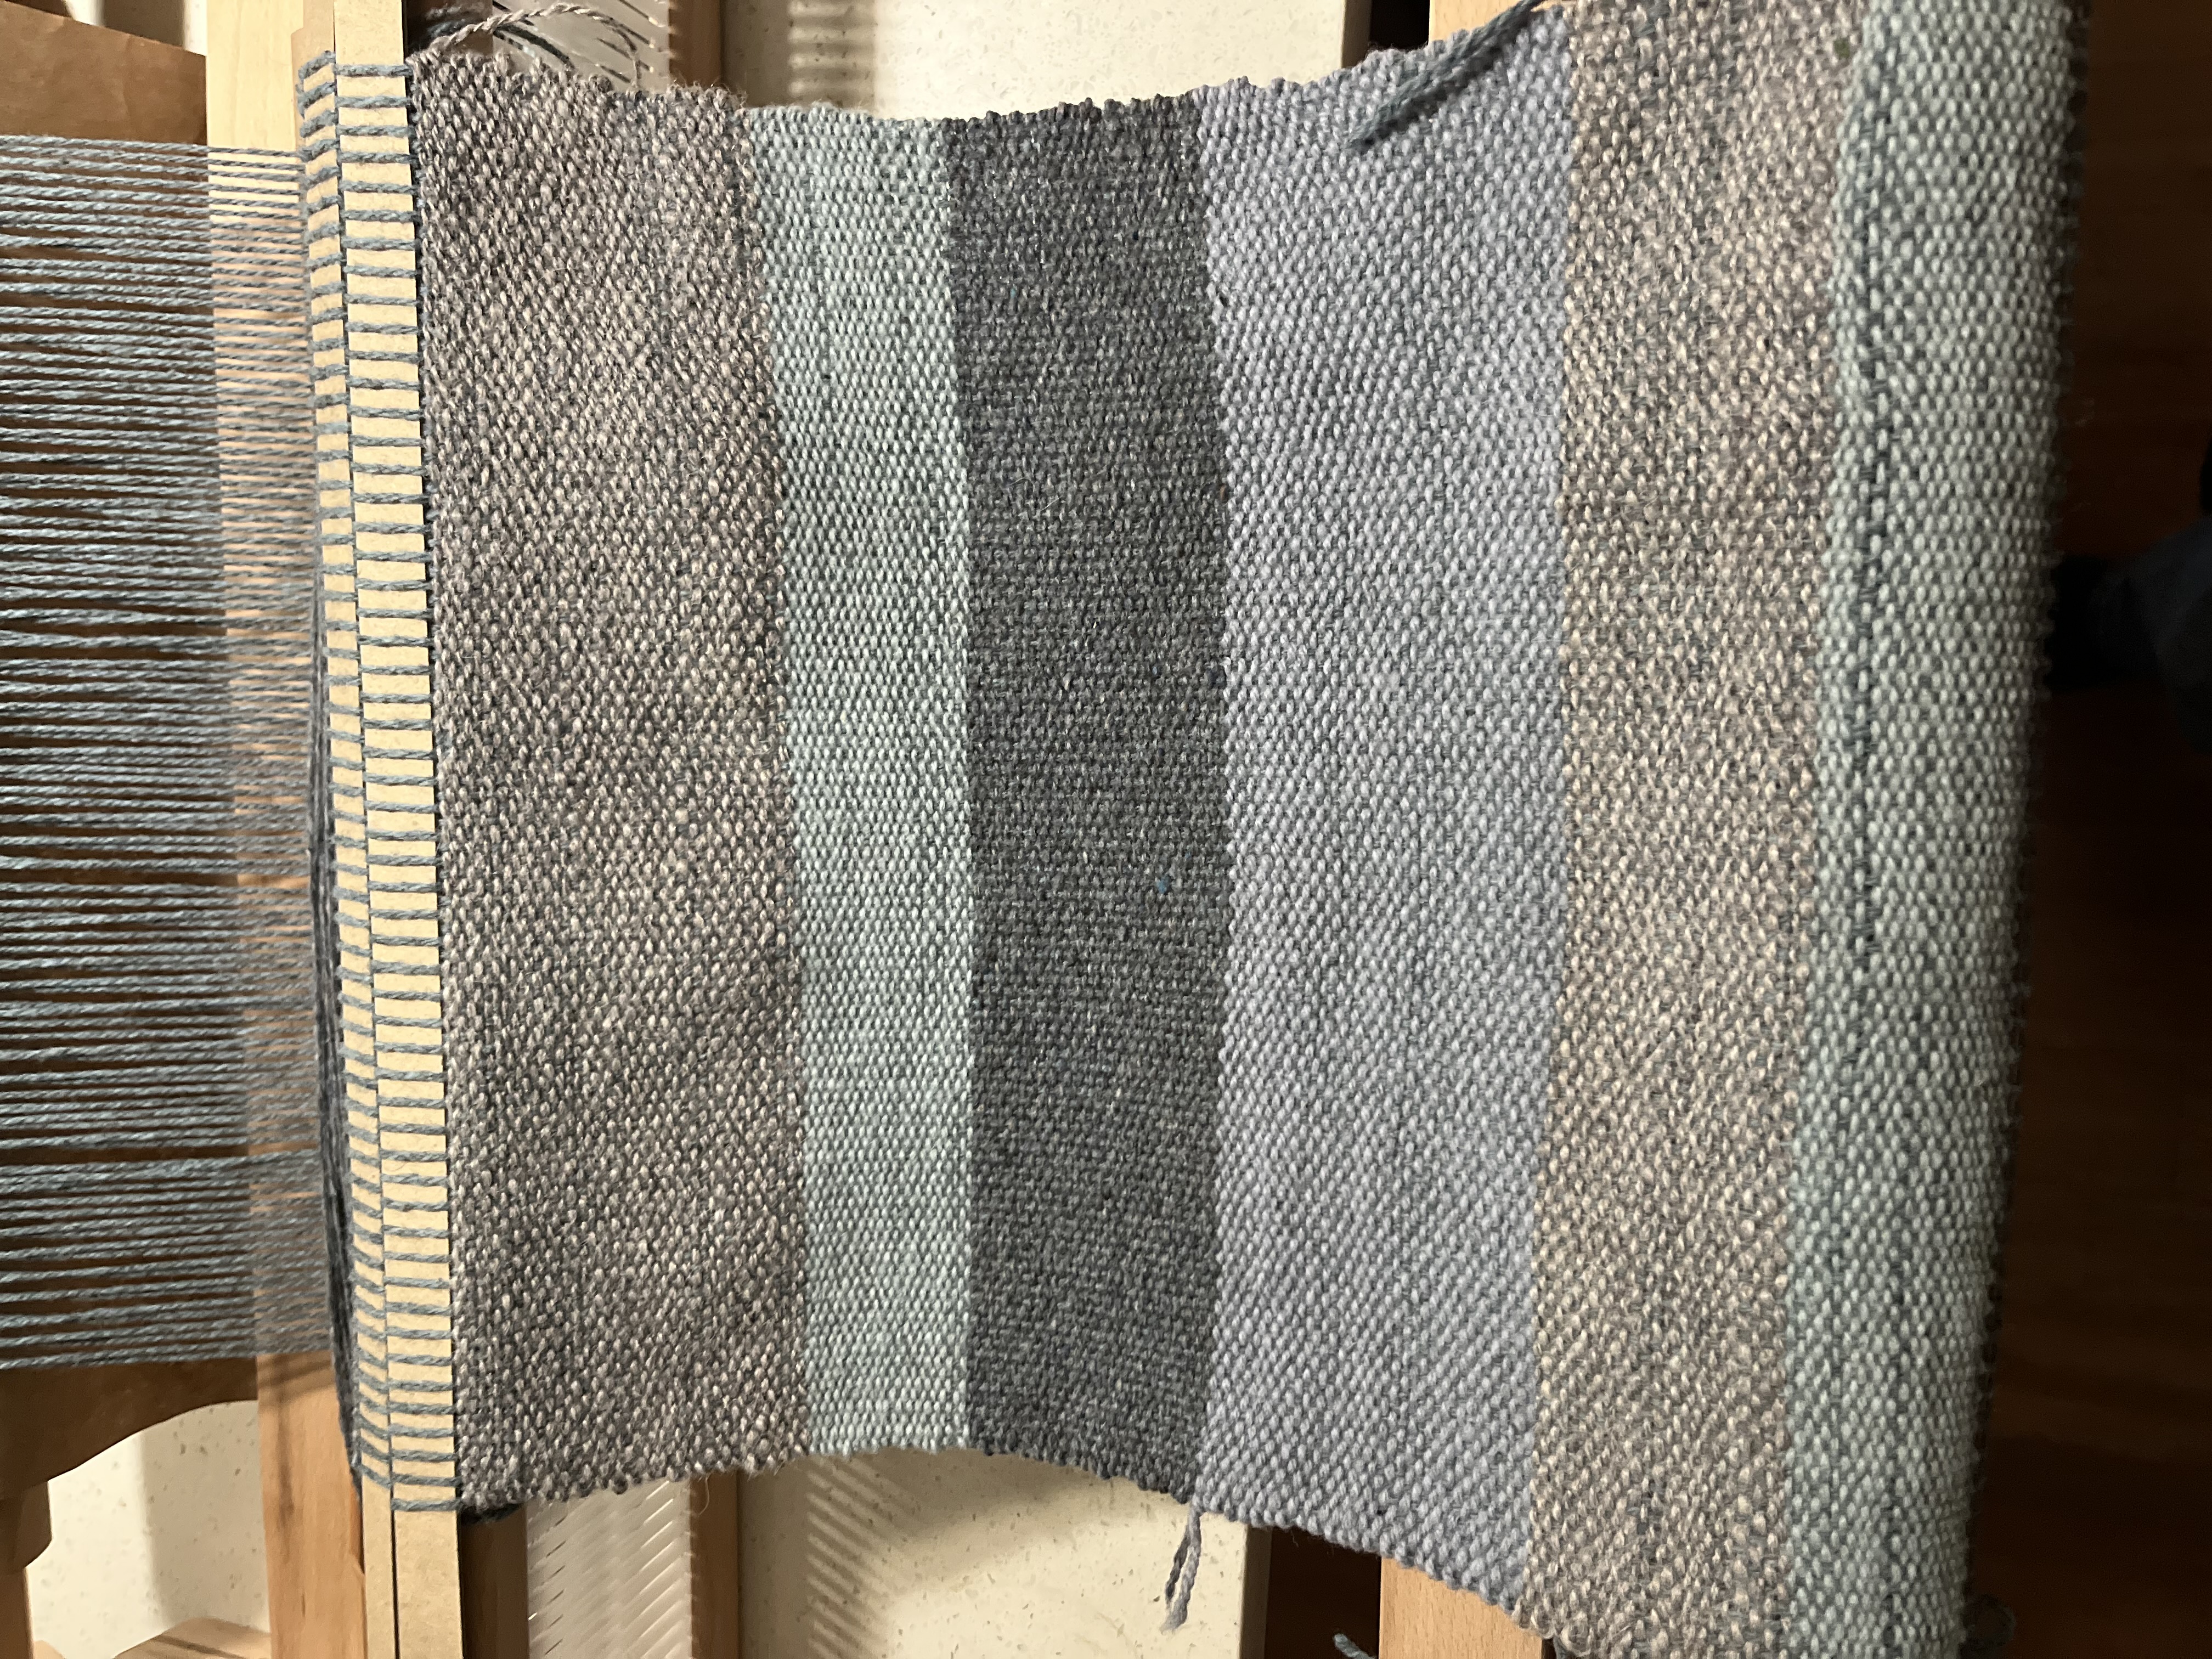
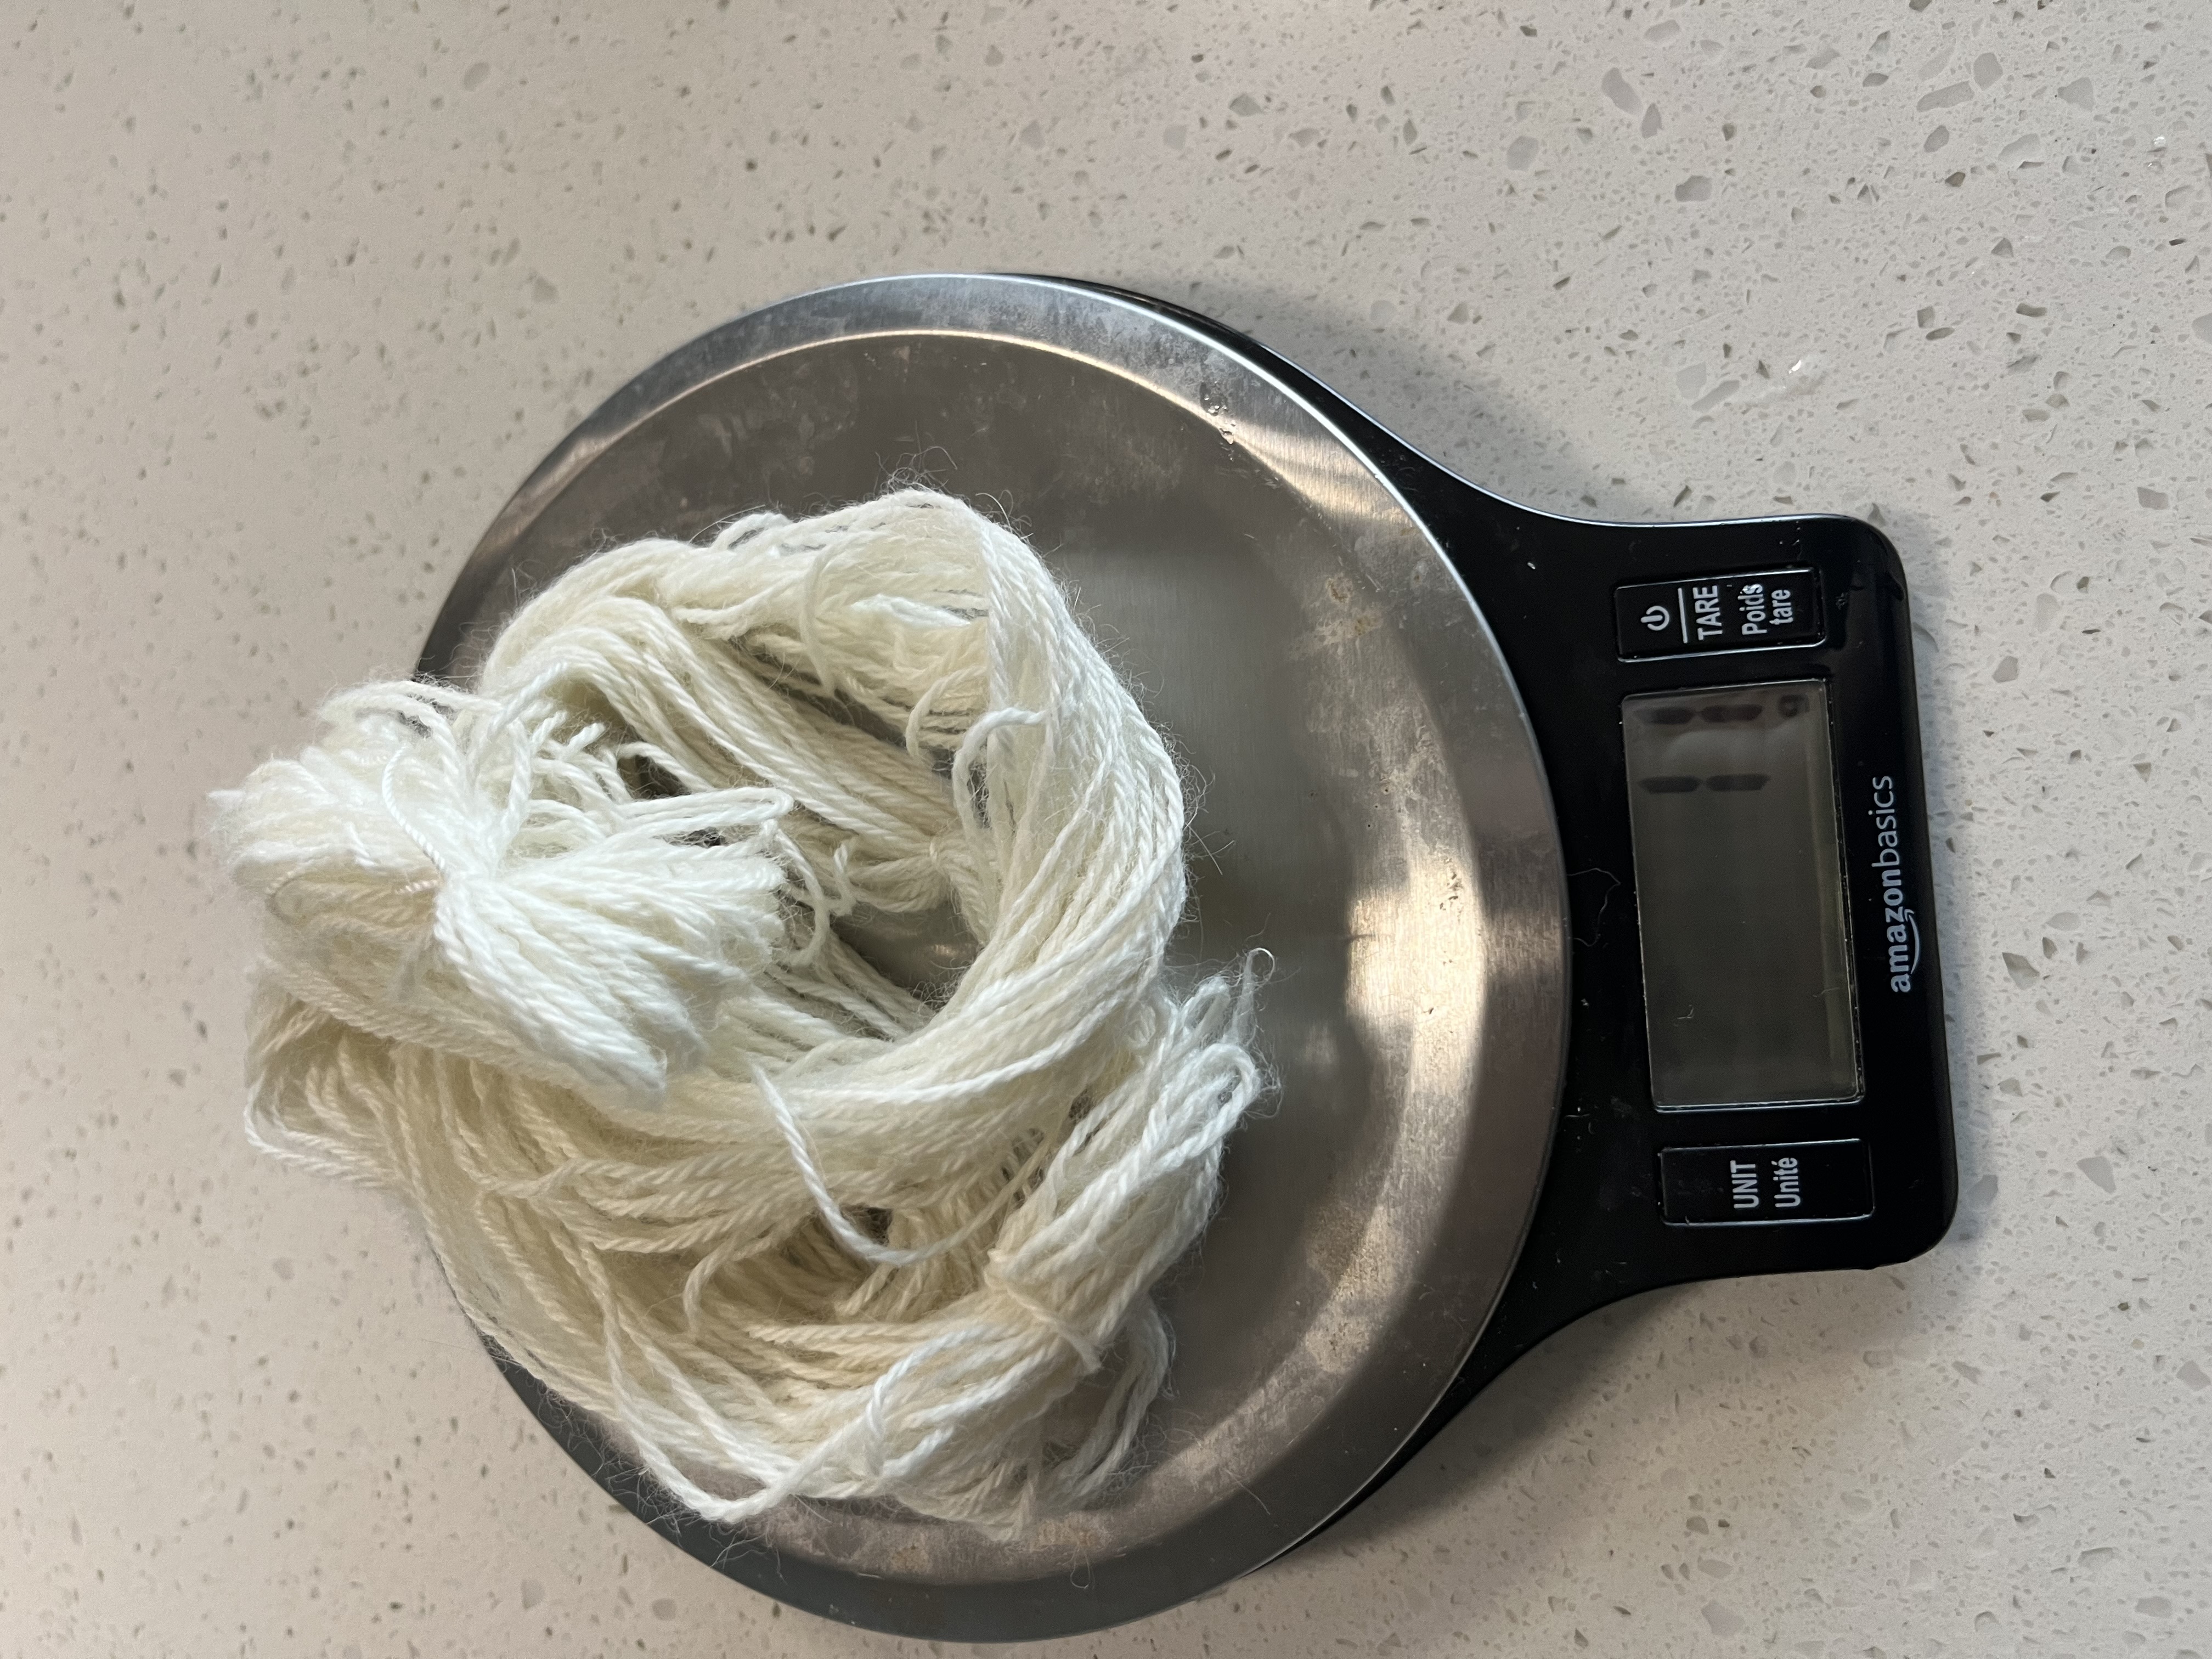
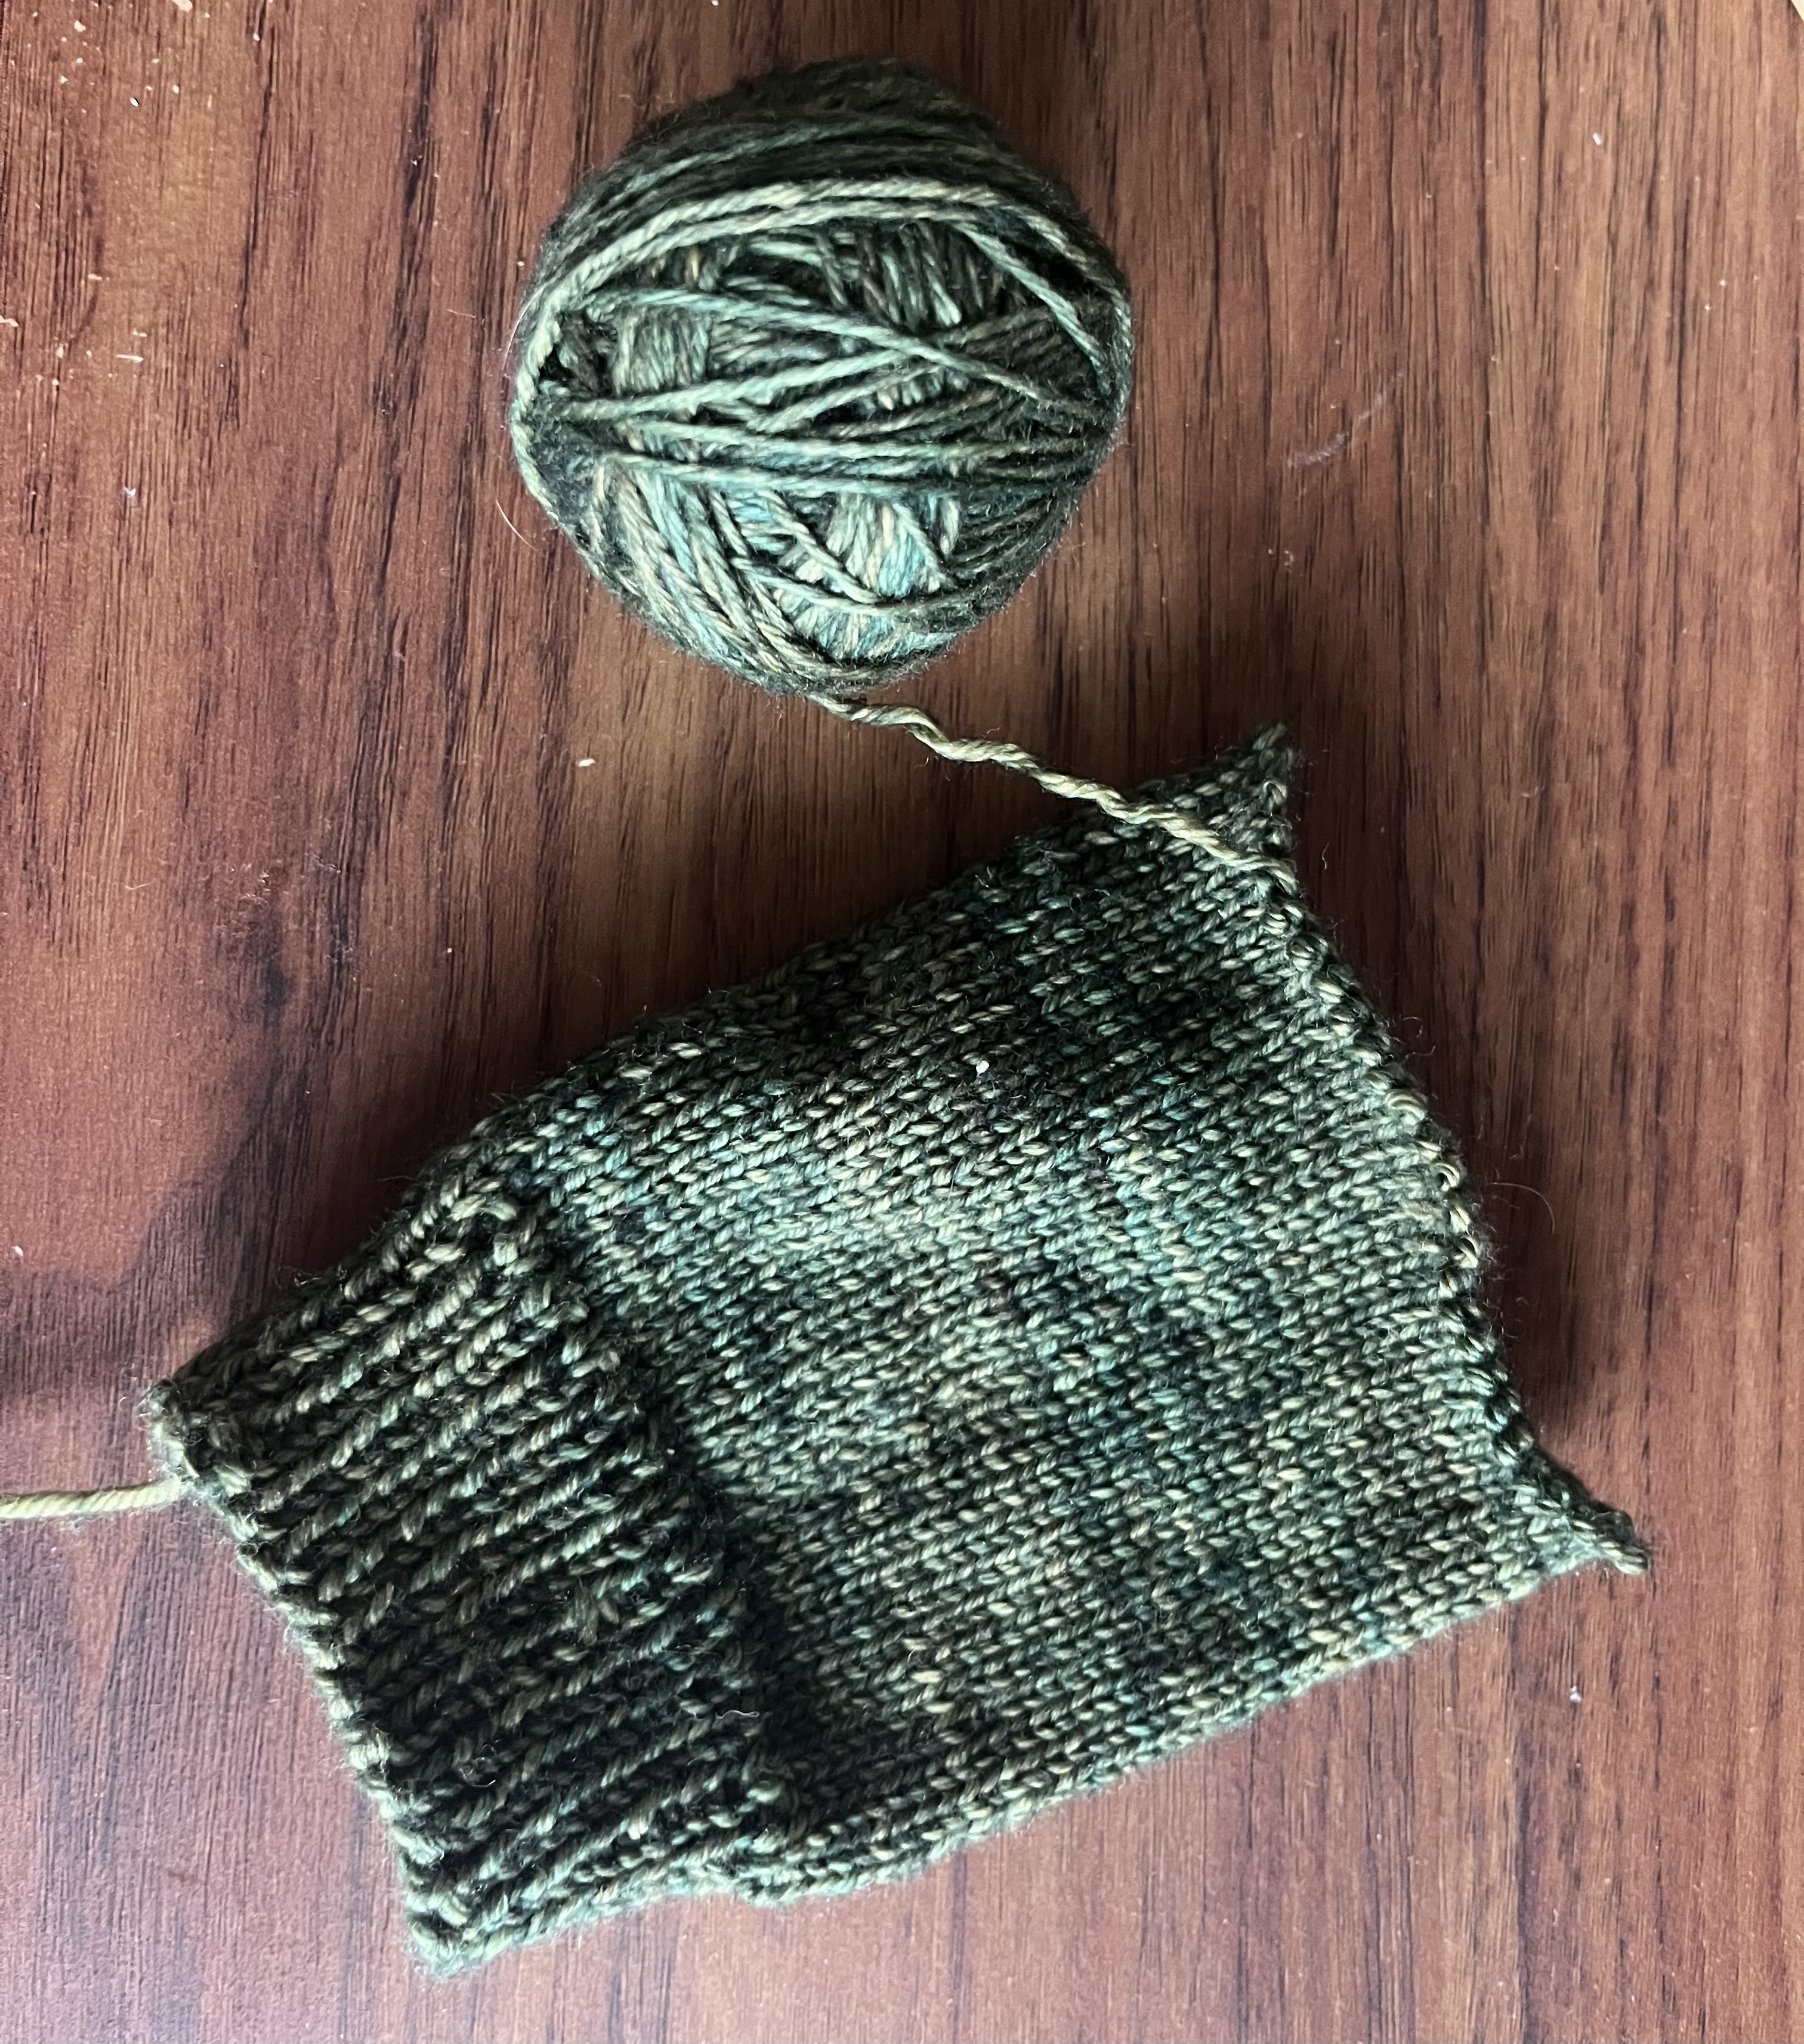
Before dyeing I split the yarn into about 10g mini skeins, so as to keep the scale of my experiments smaller and less wasteful.
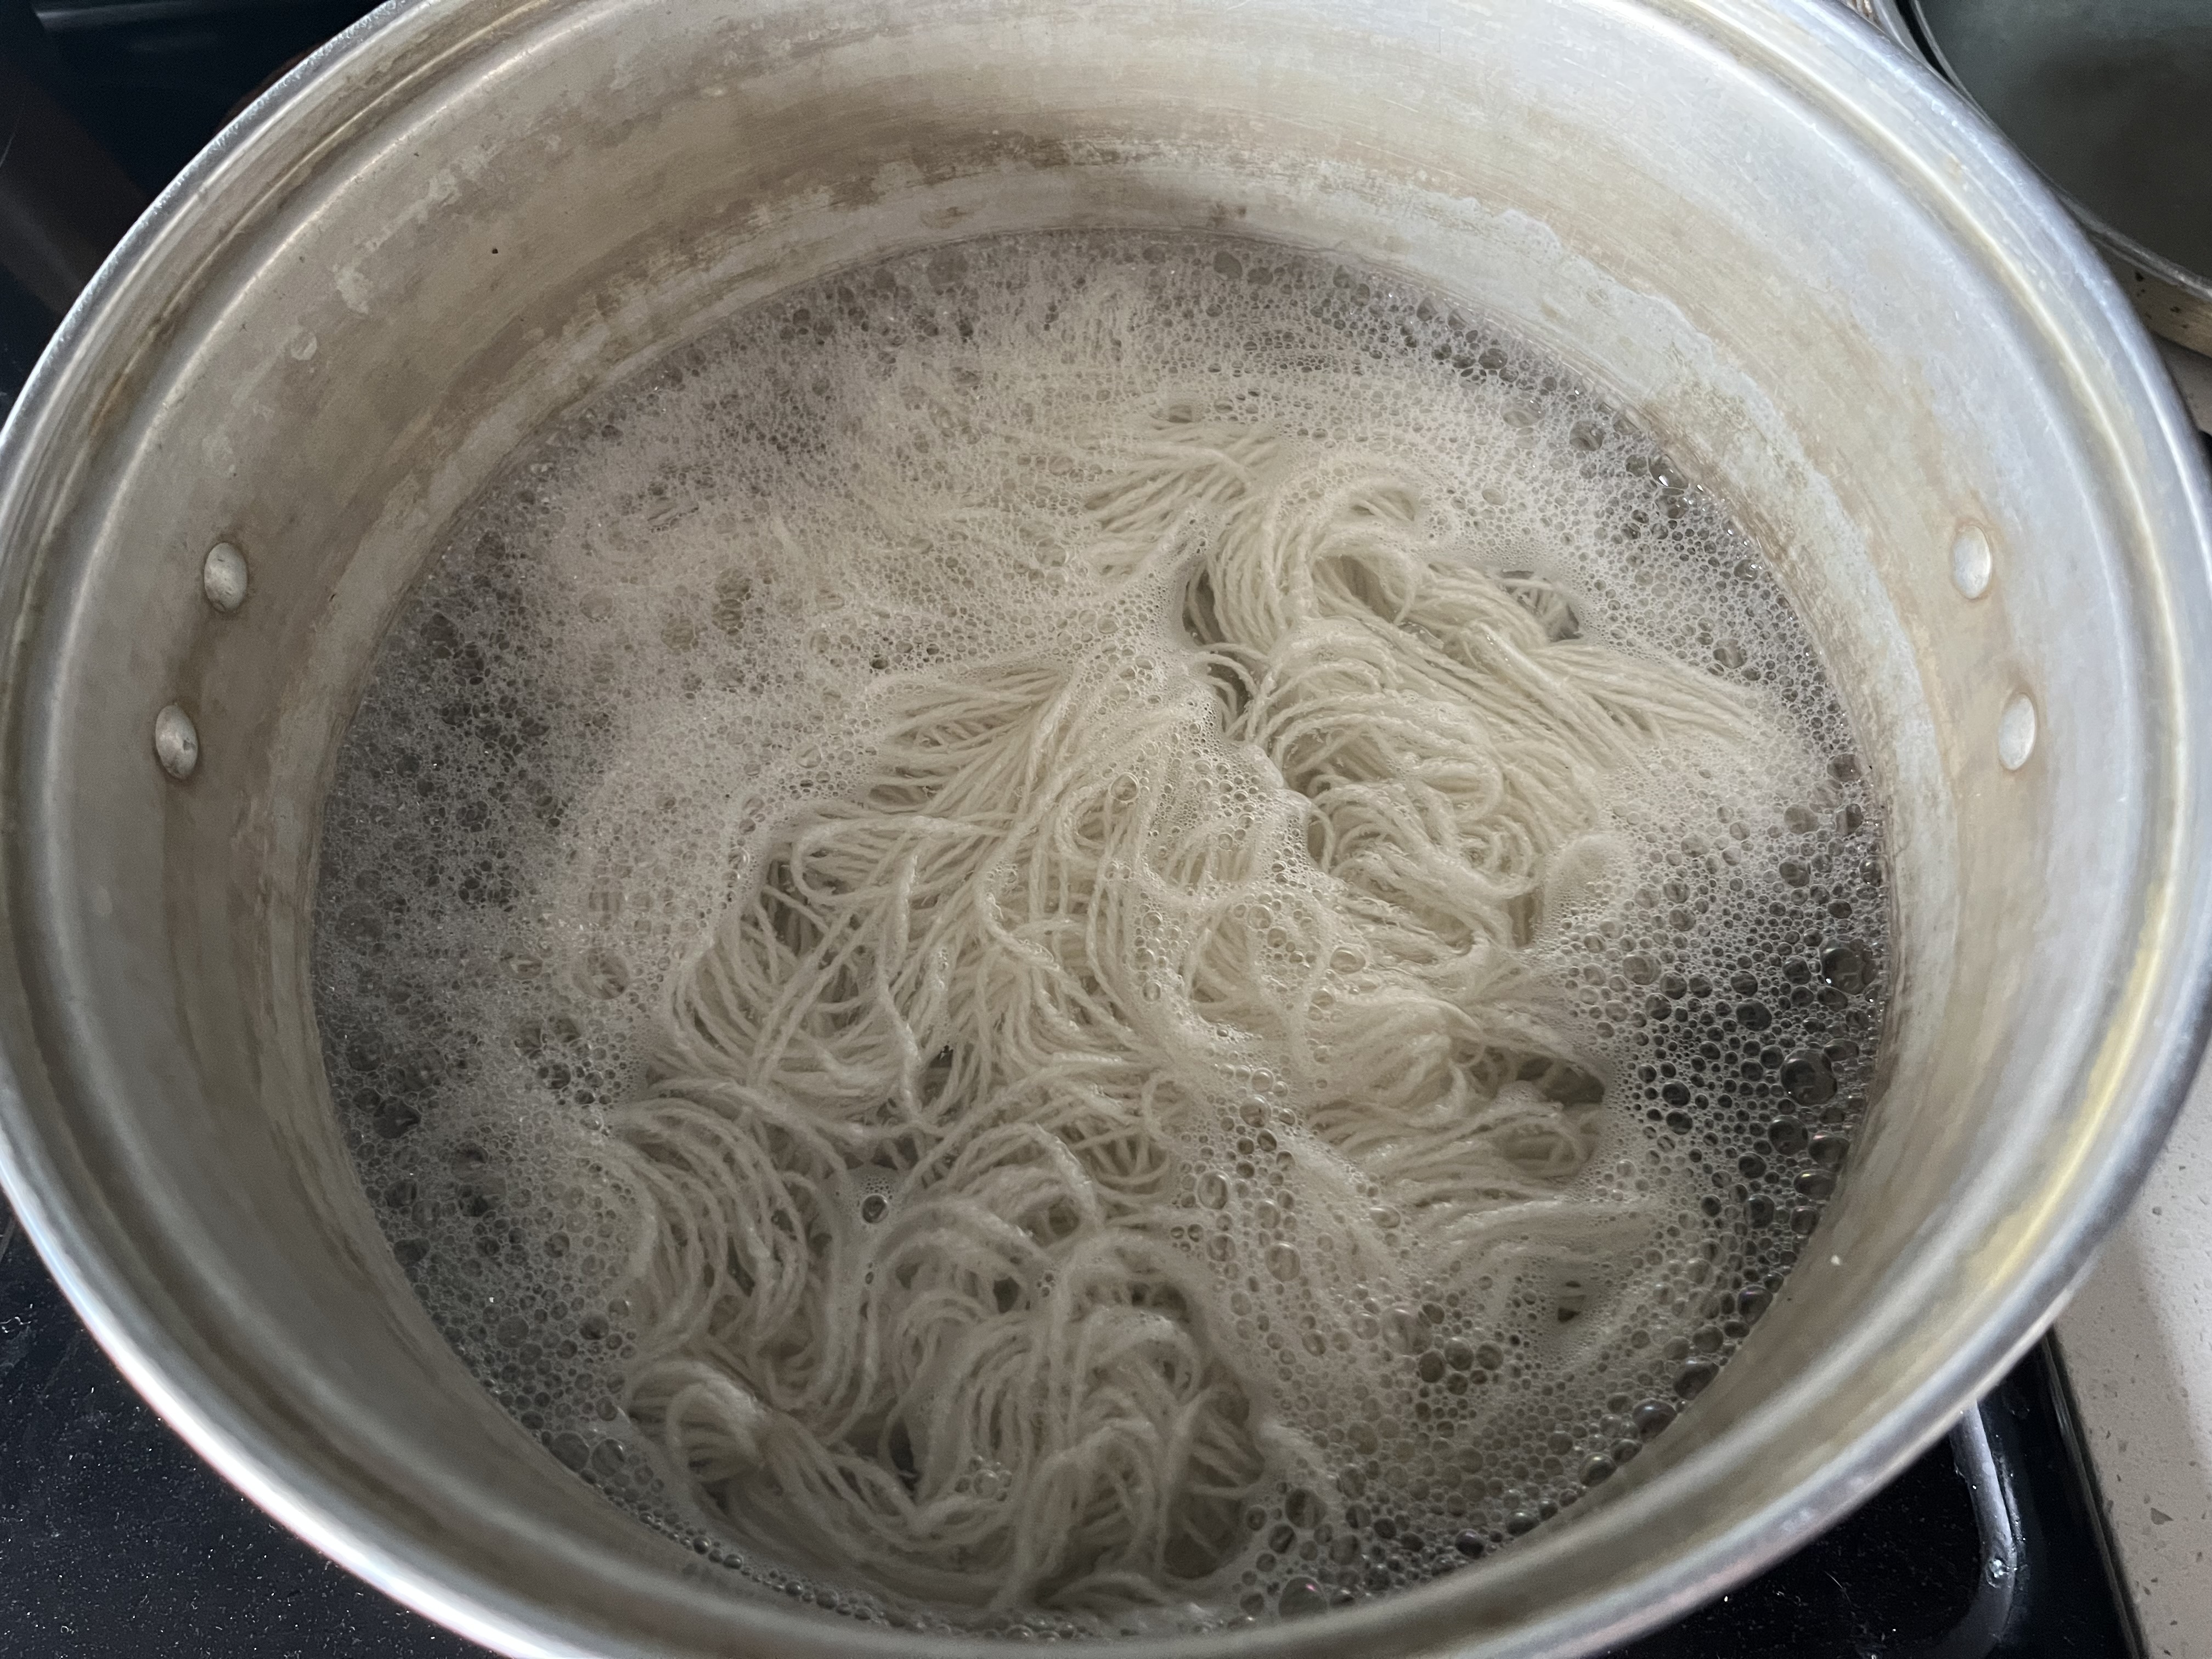
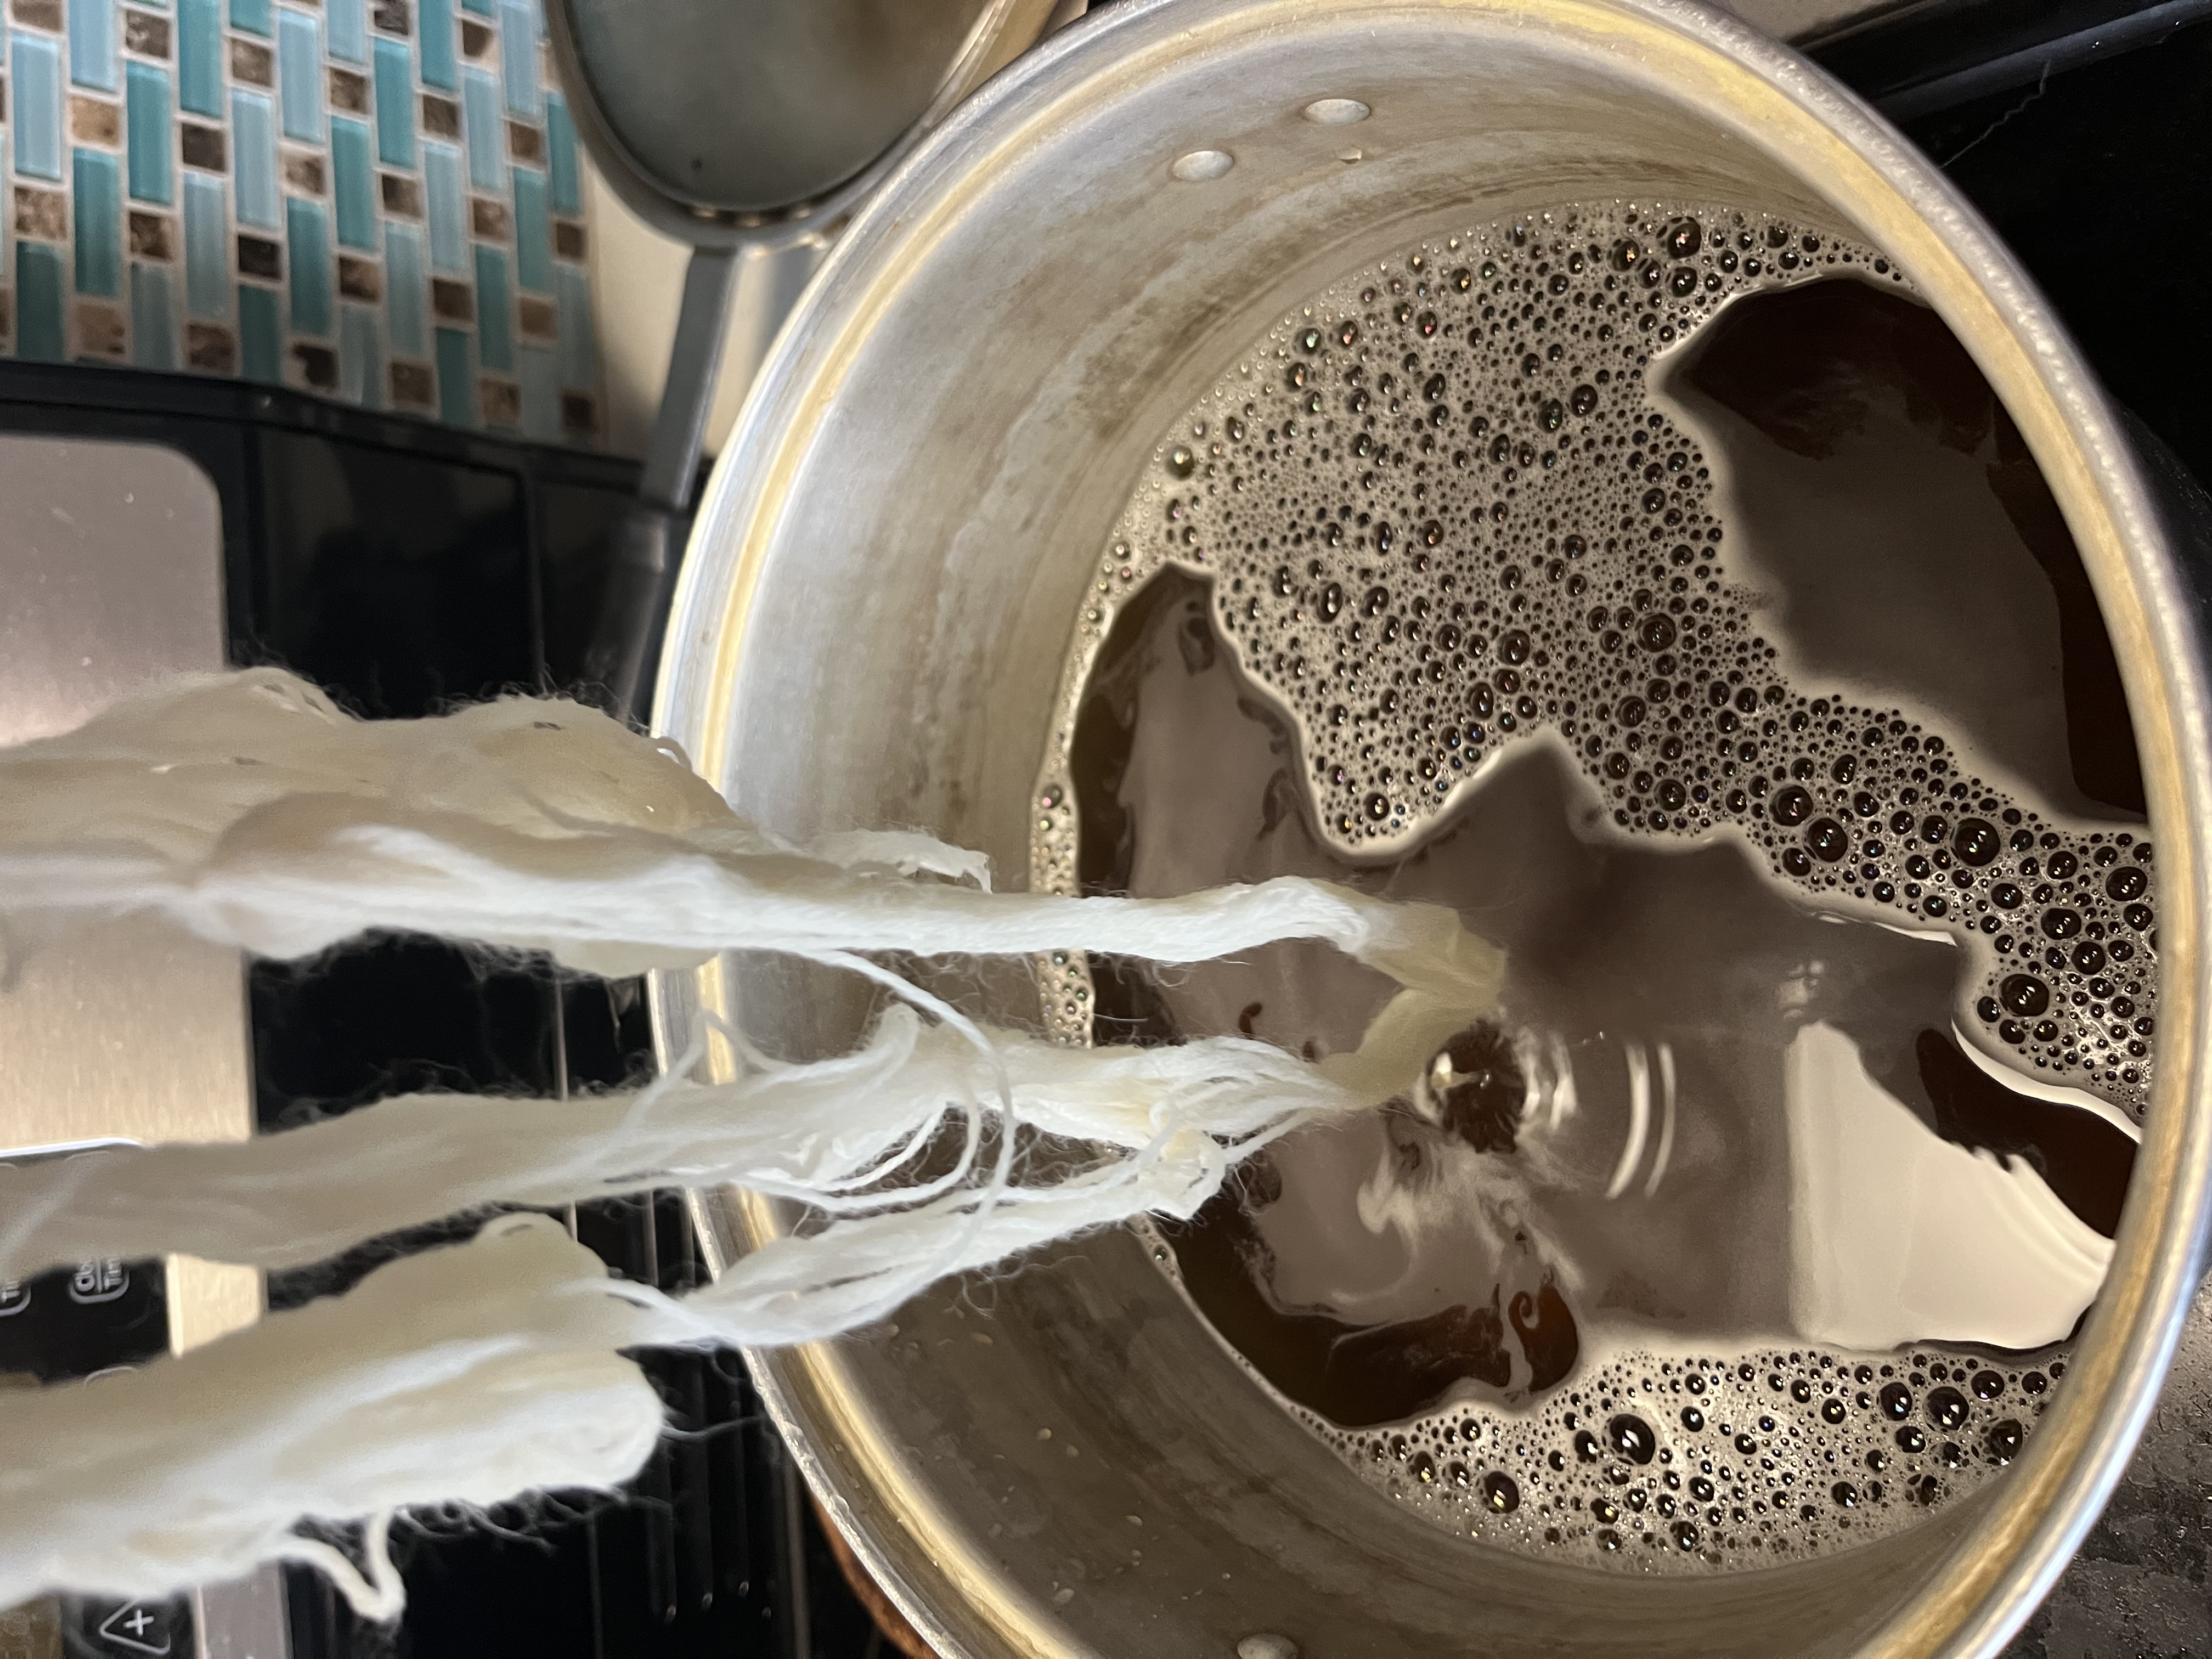
At last it was time for the dye pot! I poured the alcohol extraction through a strainer into the pot and added enough water for the skein to move freely and put it on the stove at low heat. I wet the skein and added it in before the water was hot and slowly brought it to just below a simmer. I kept it there for an hour, gently stirring occasionally while being carful not to agitate too much and cause felting. As you can see the yarn appears in the depot to be taking up a nice color!
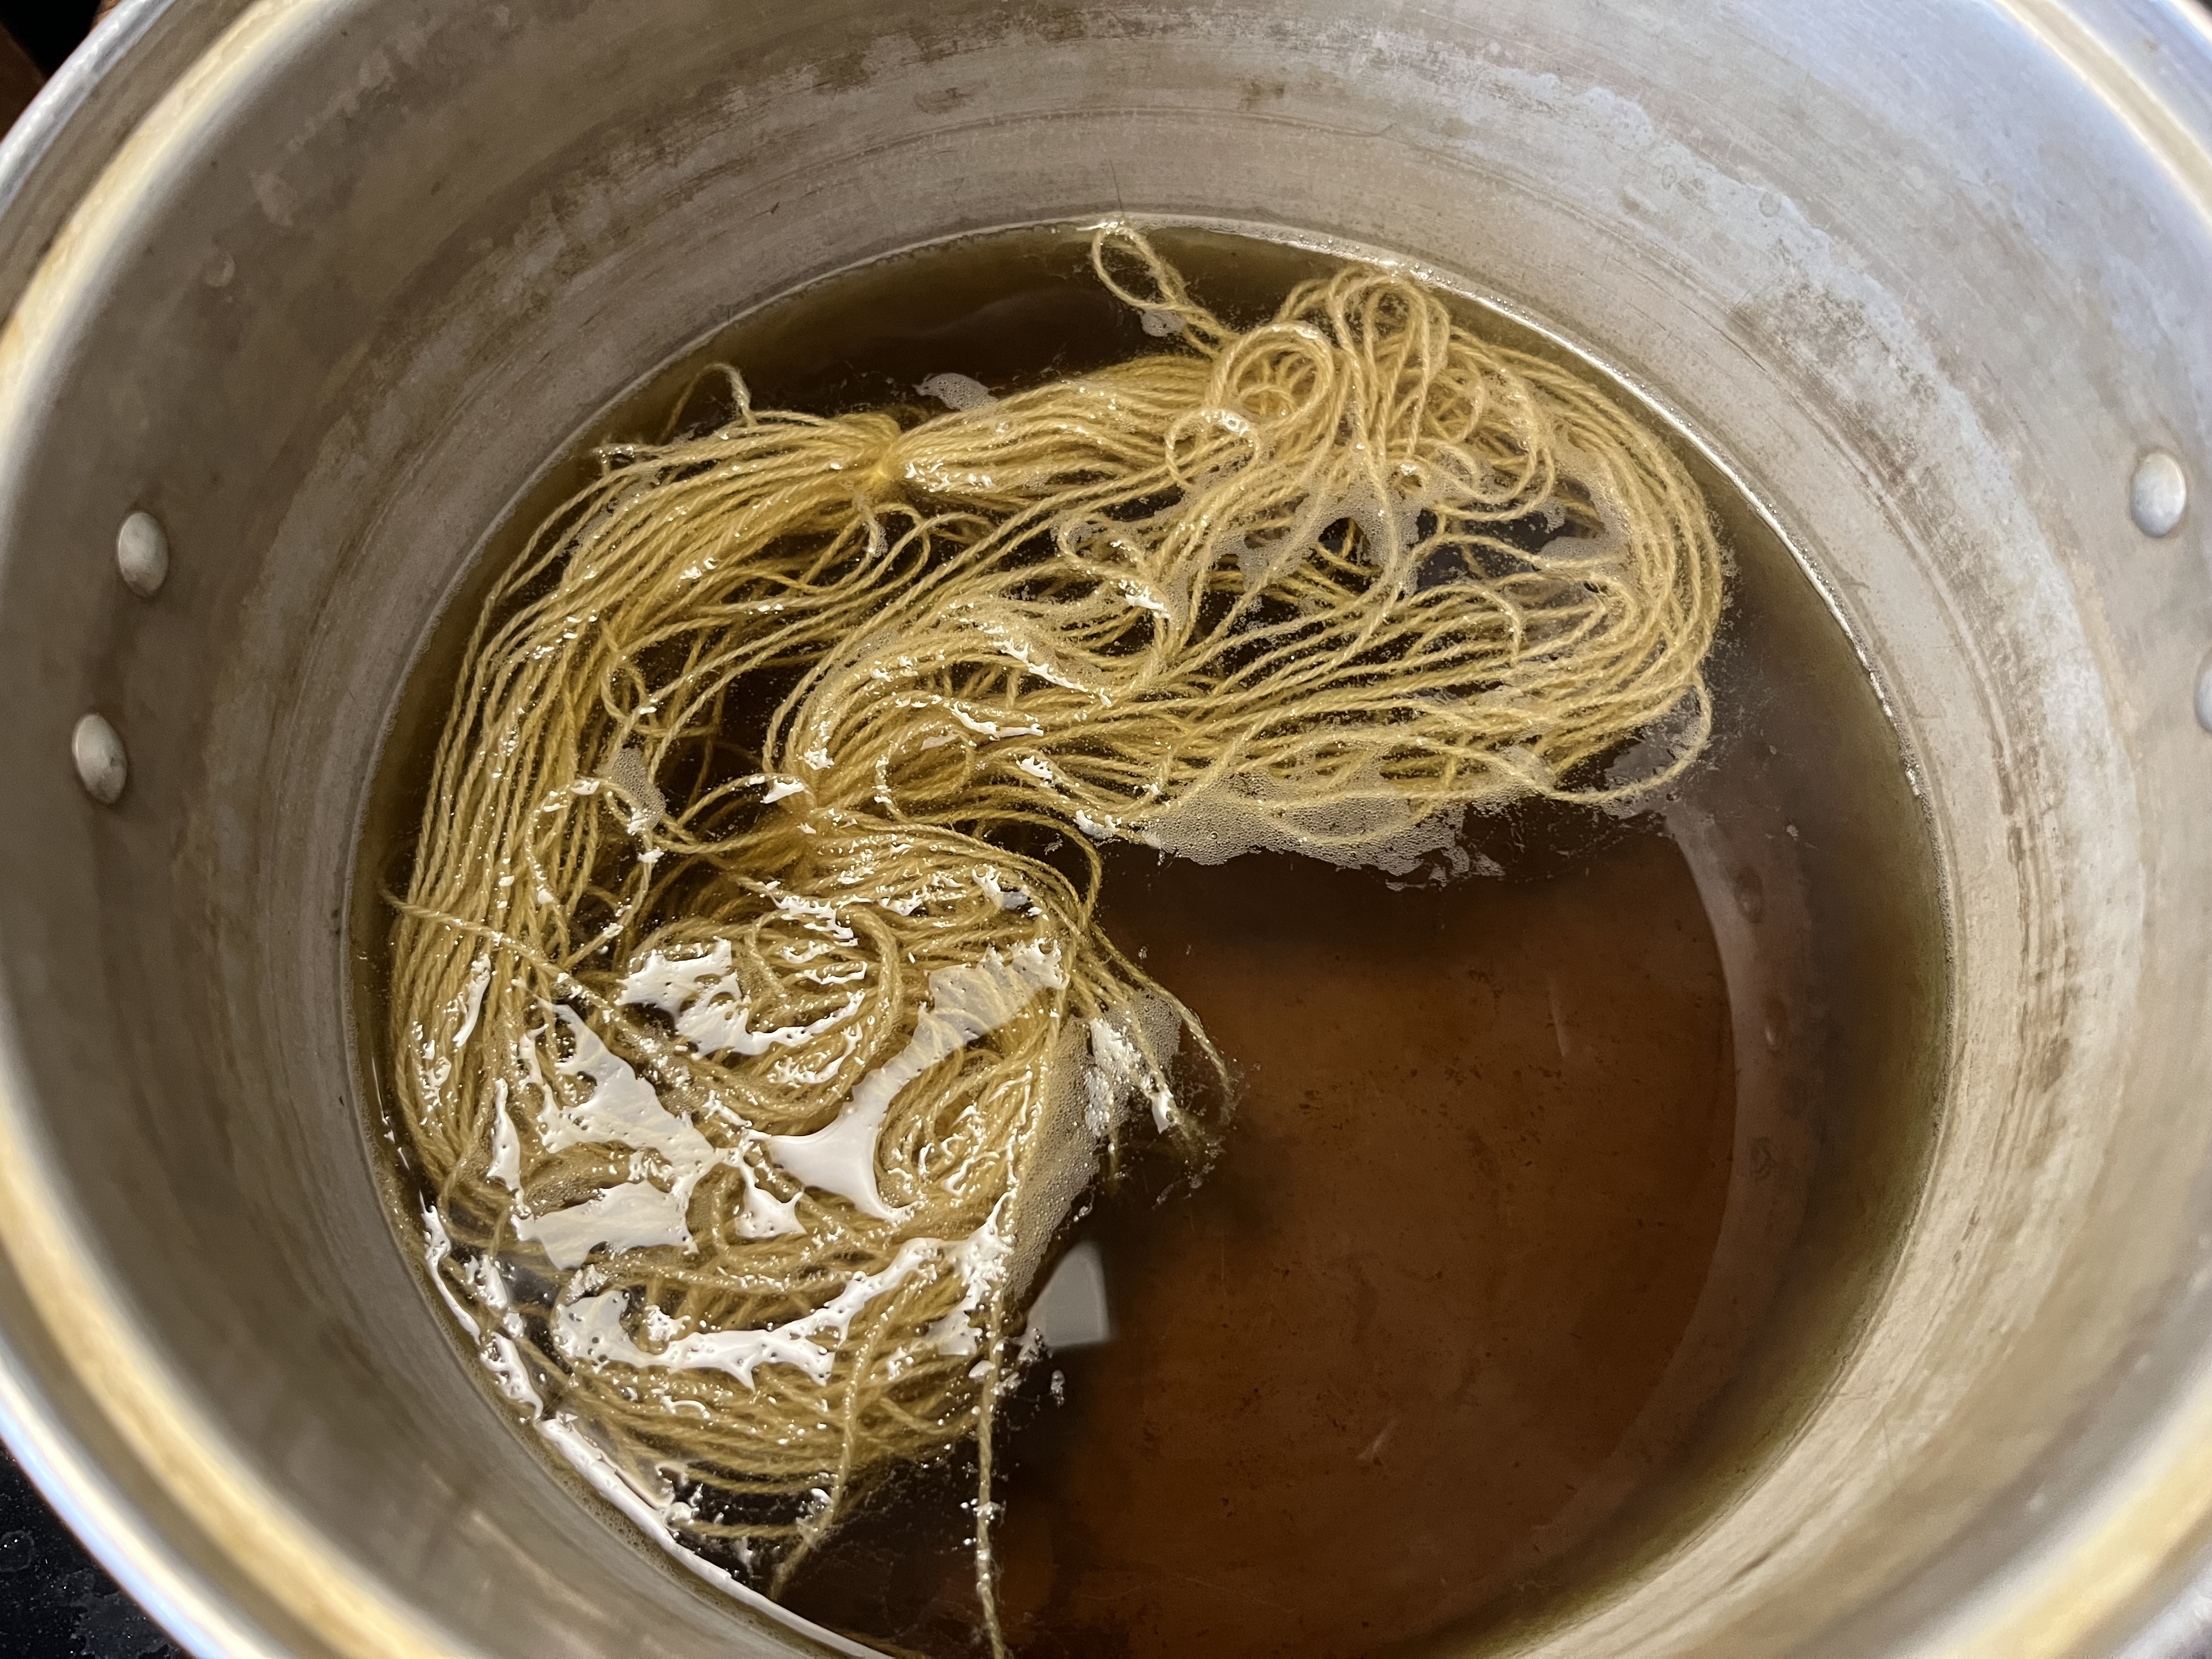
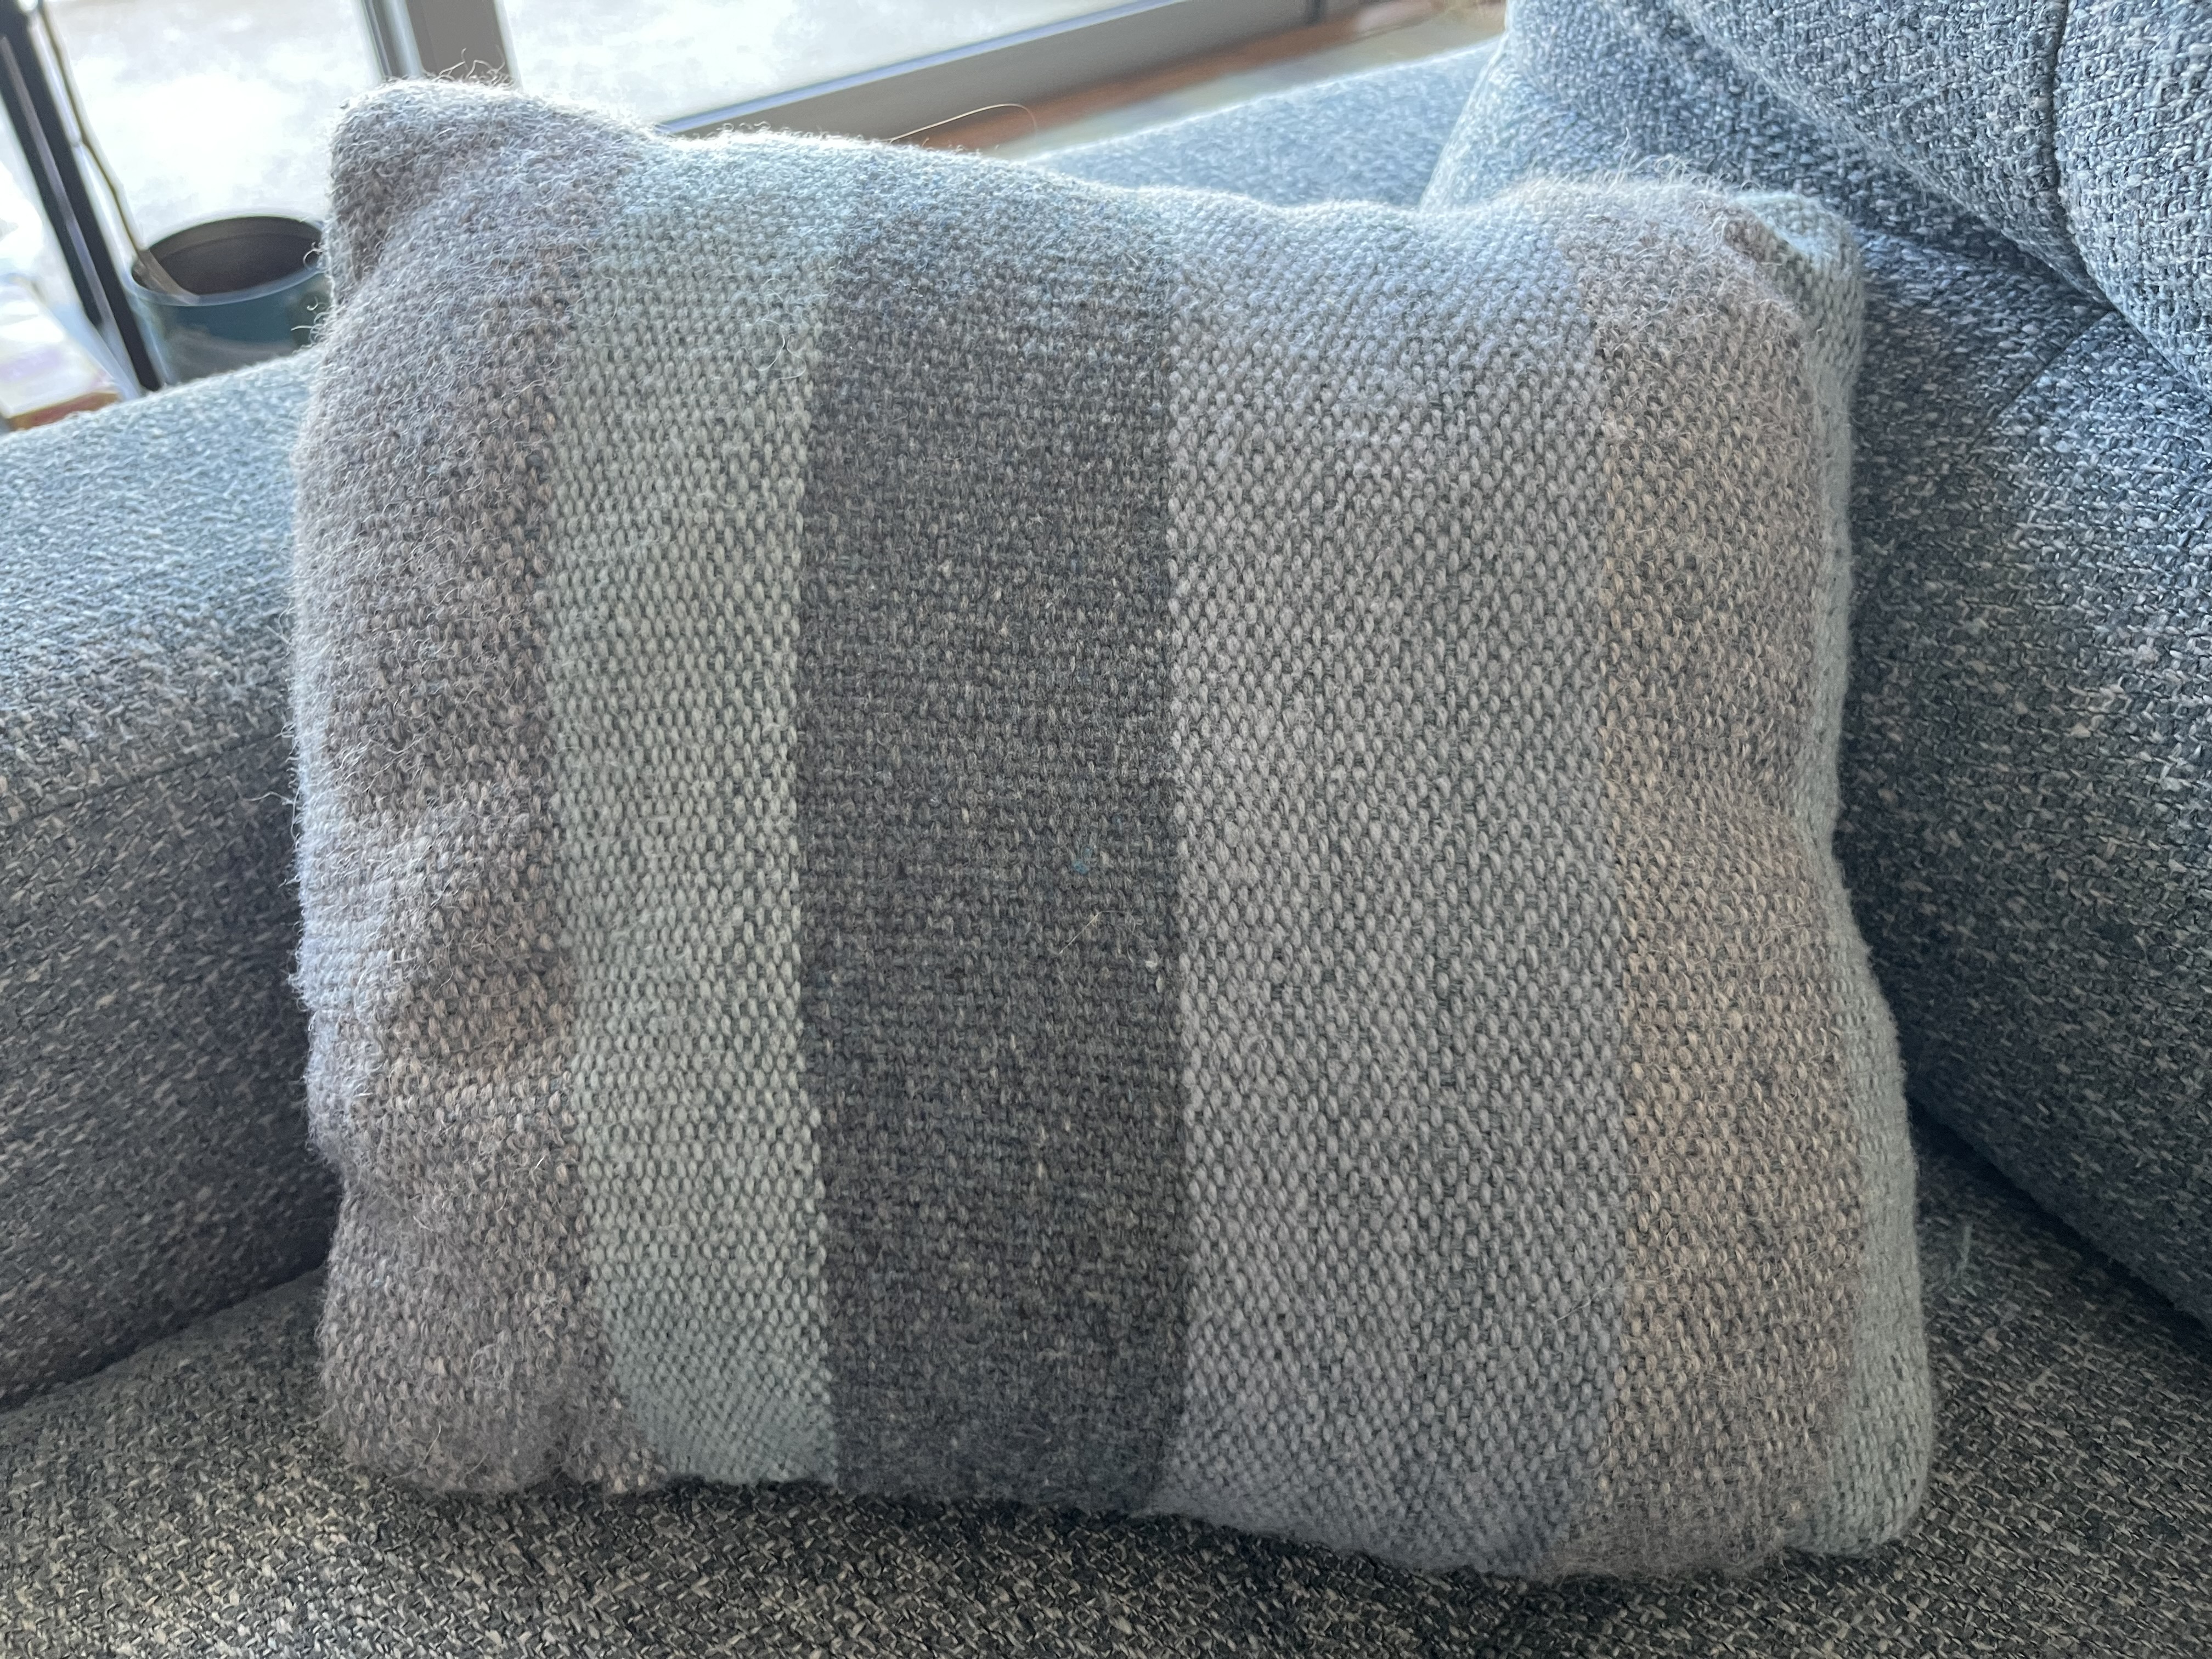
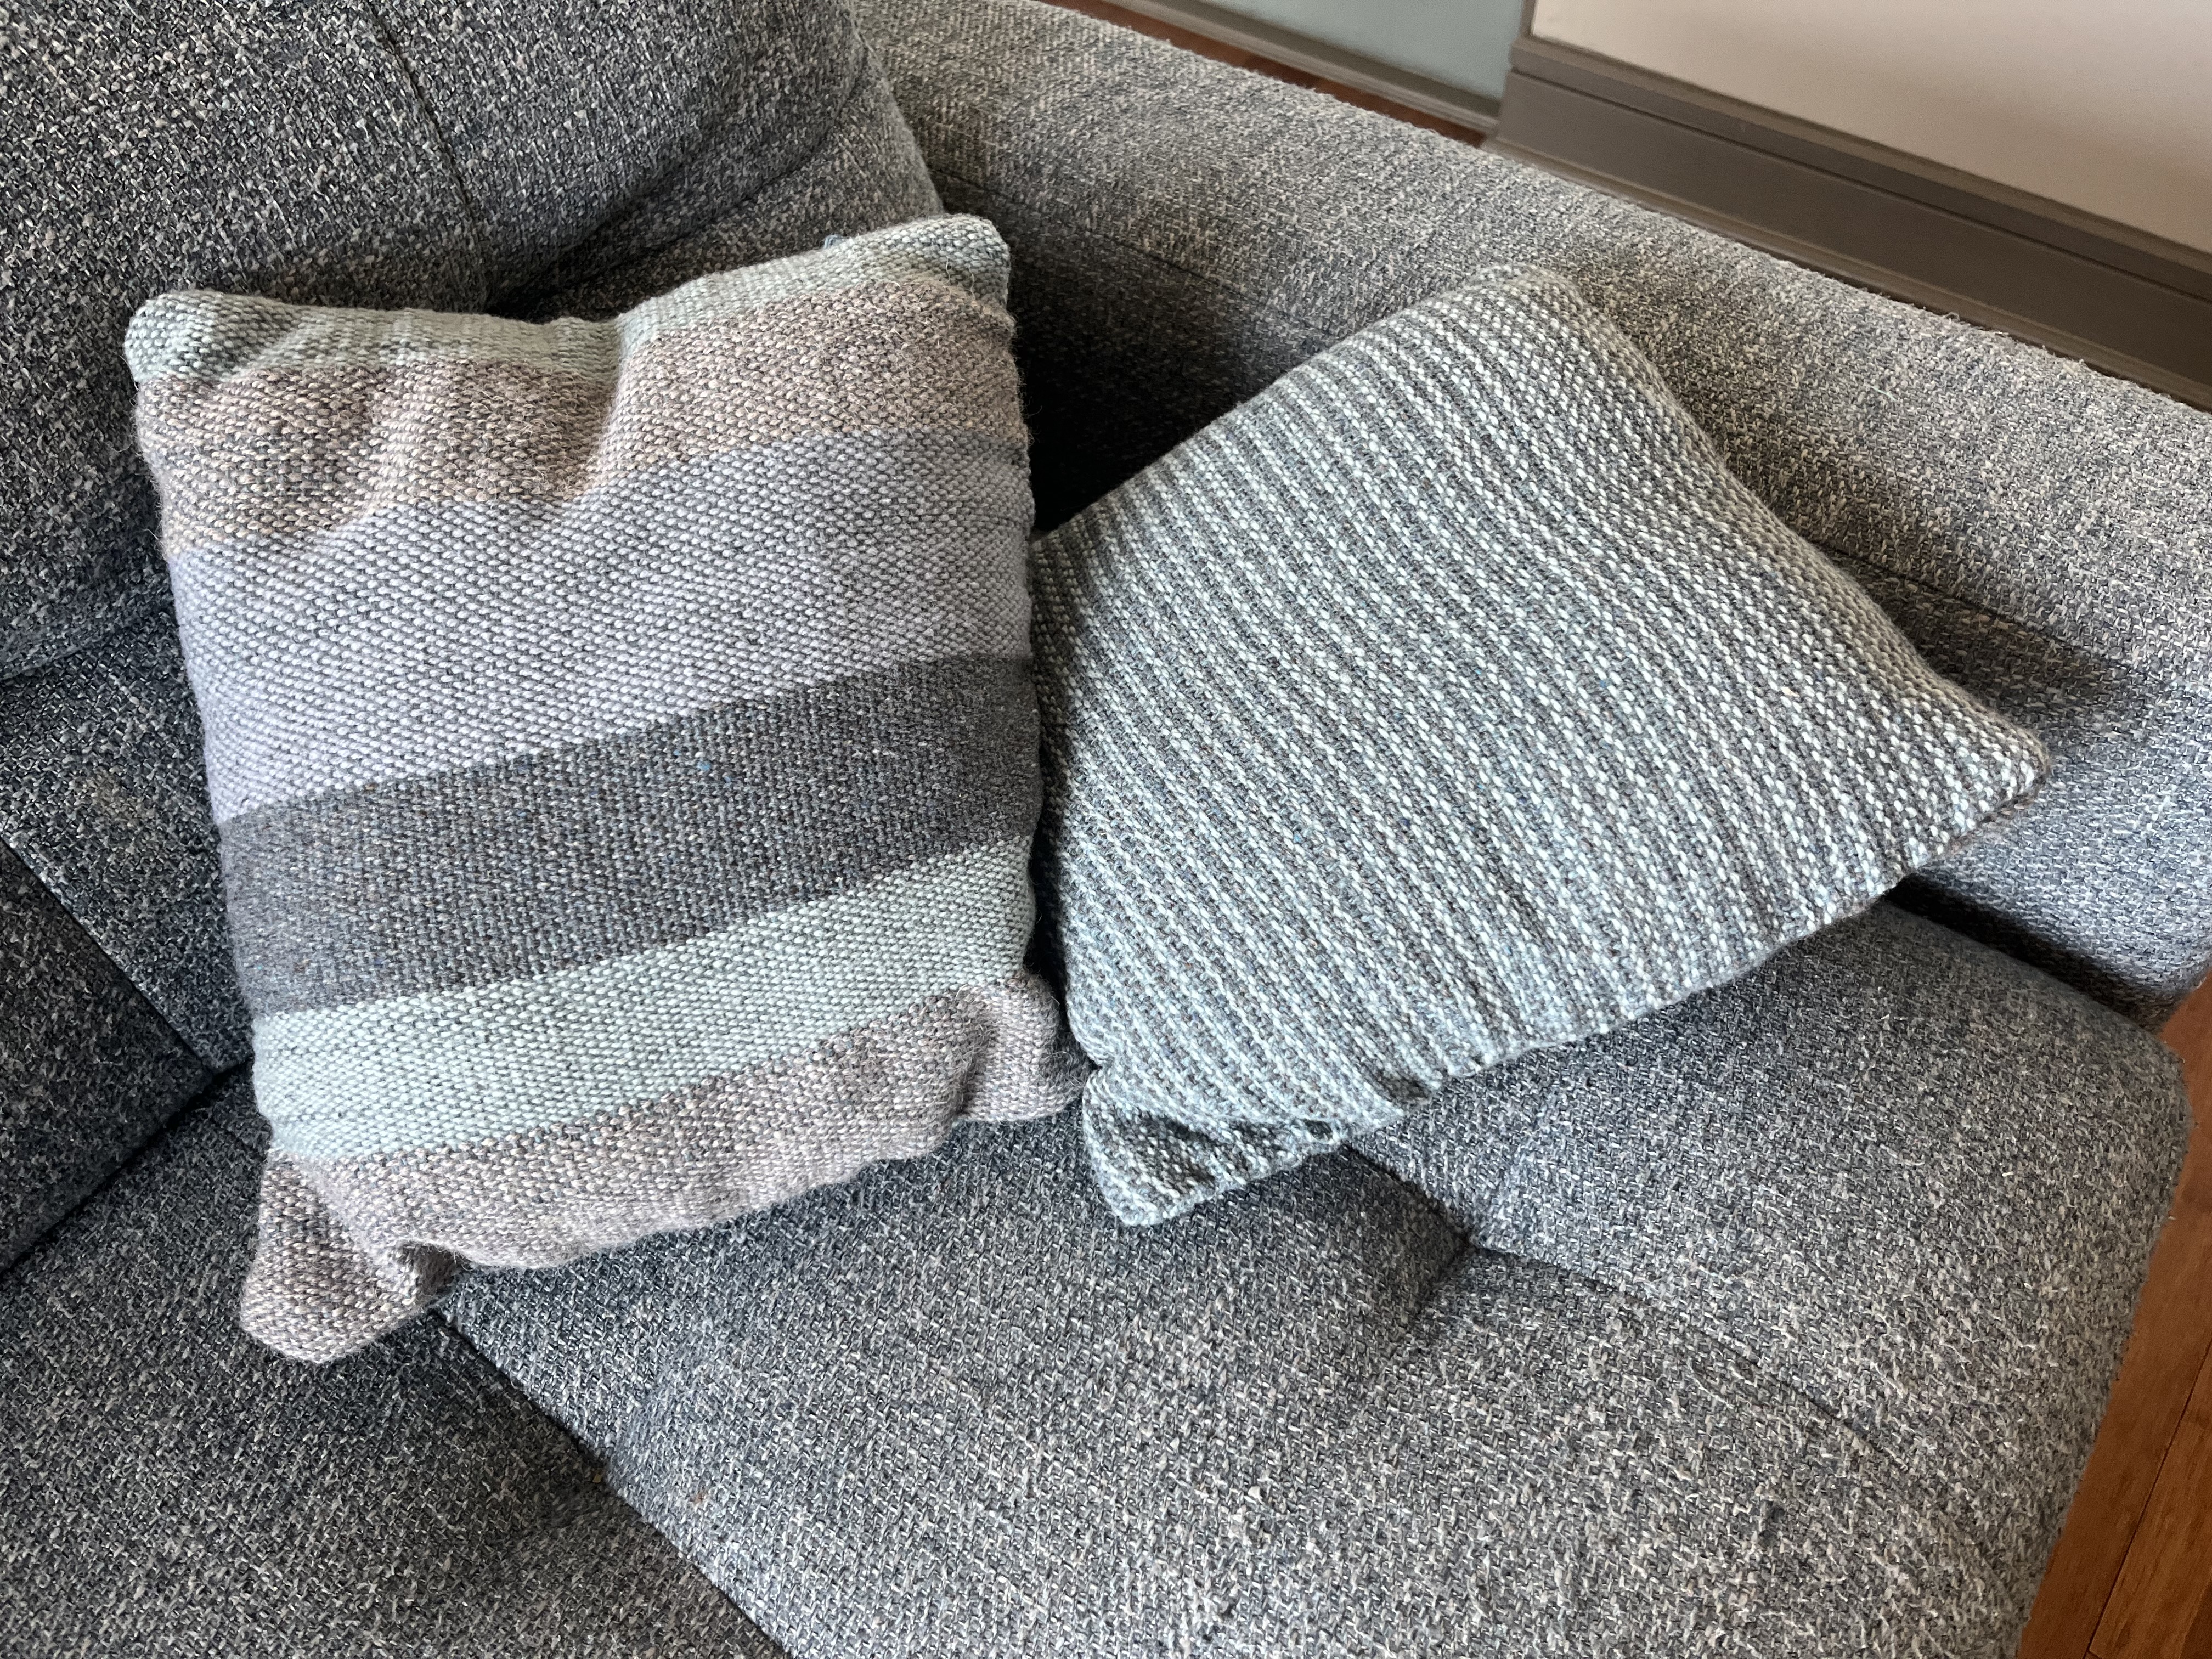
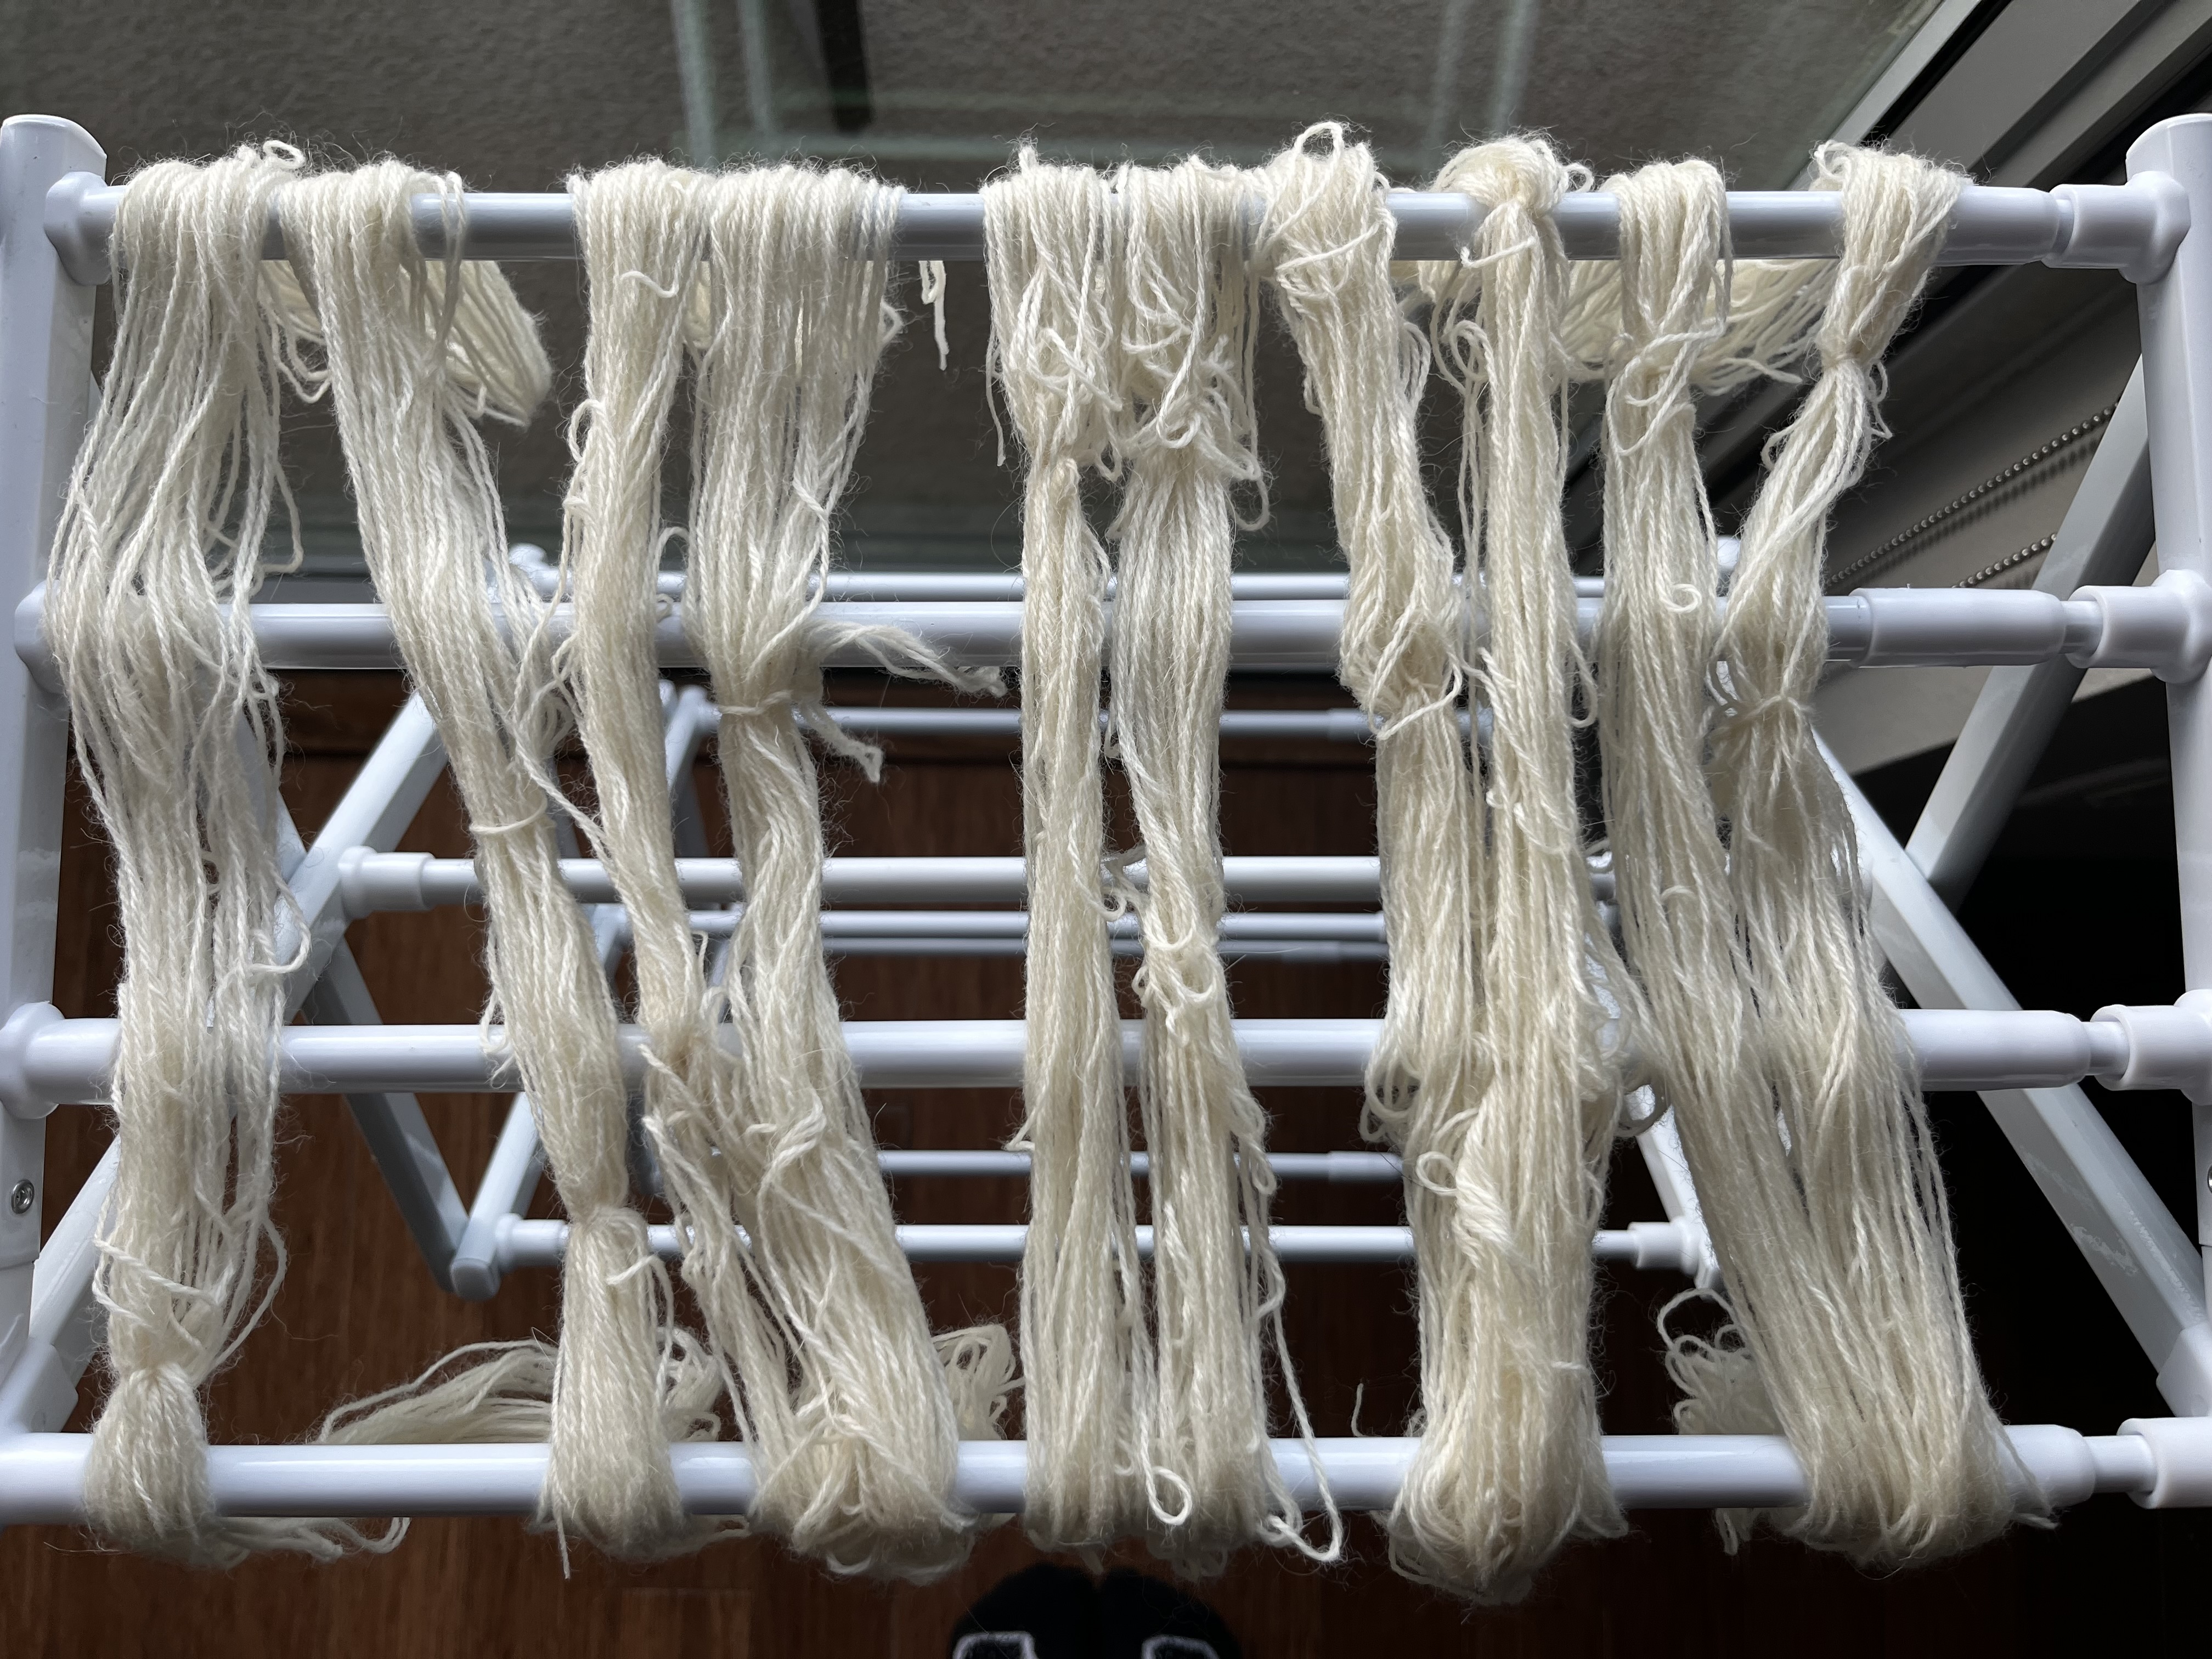
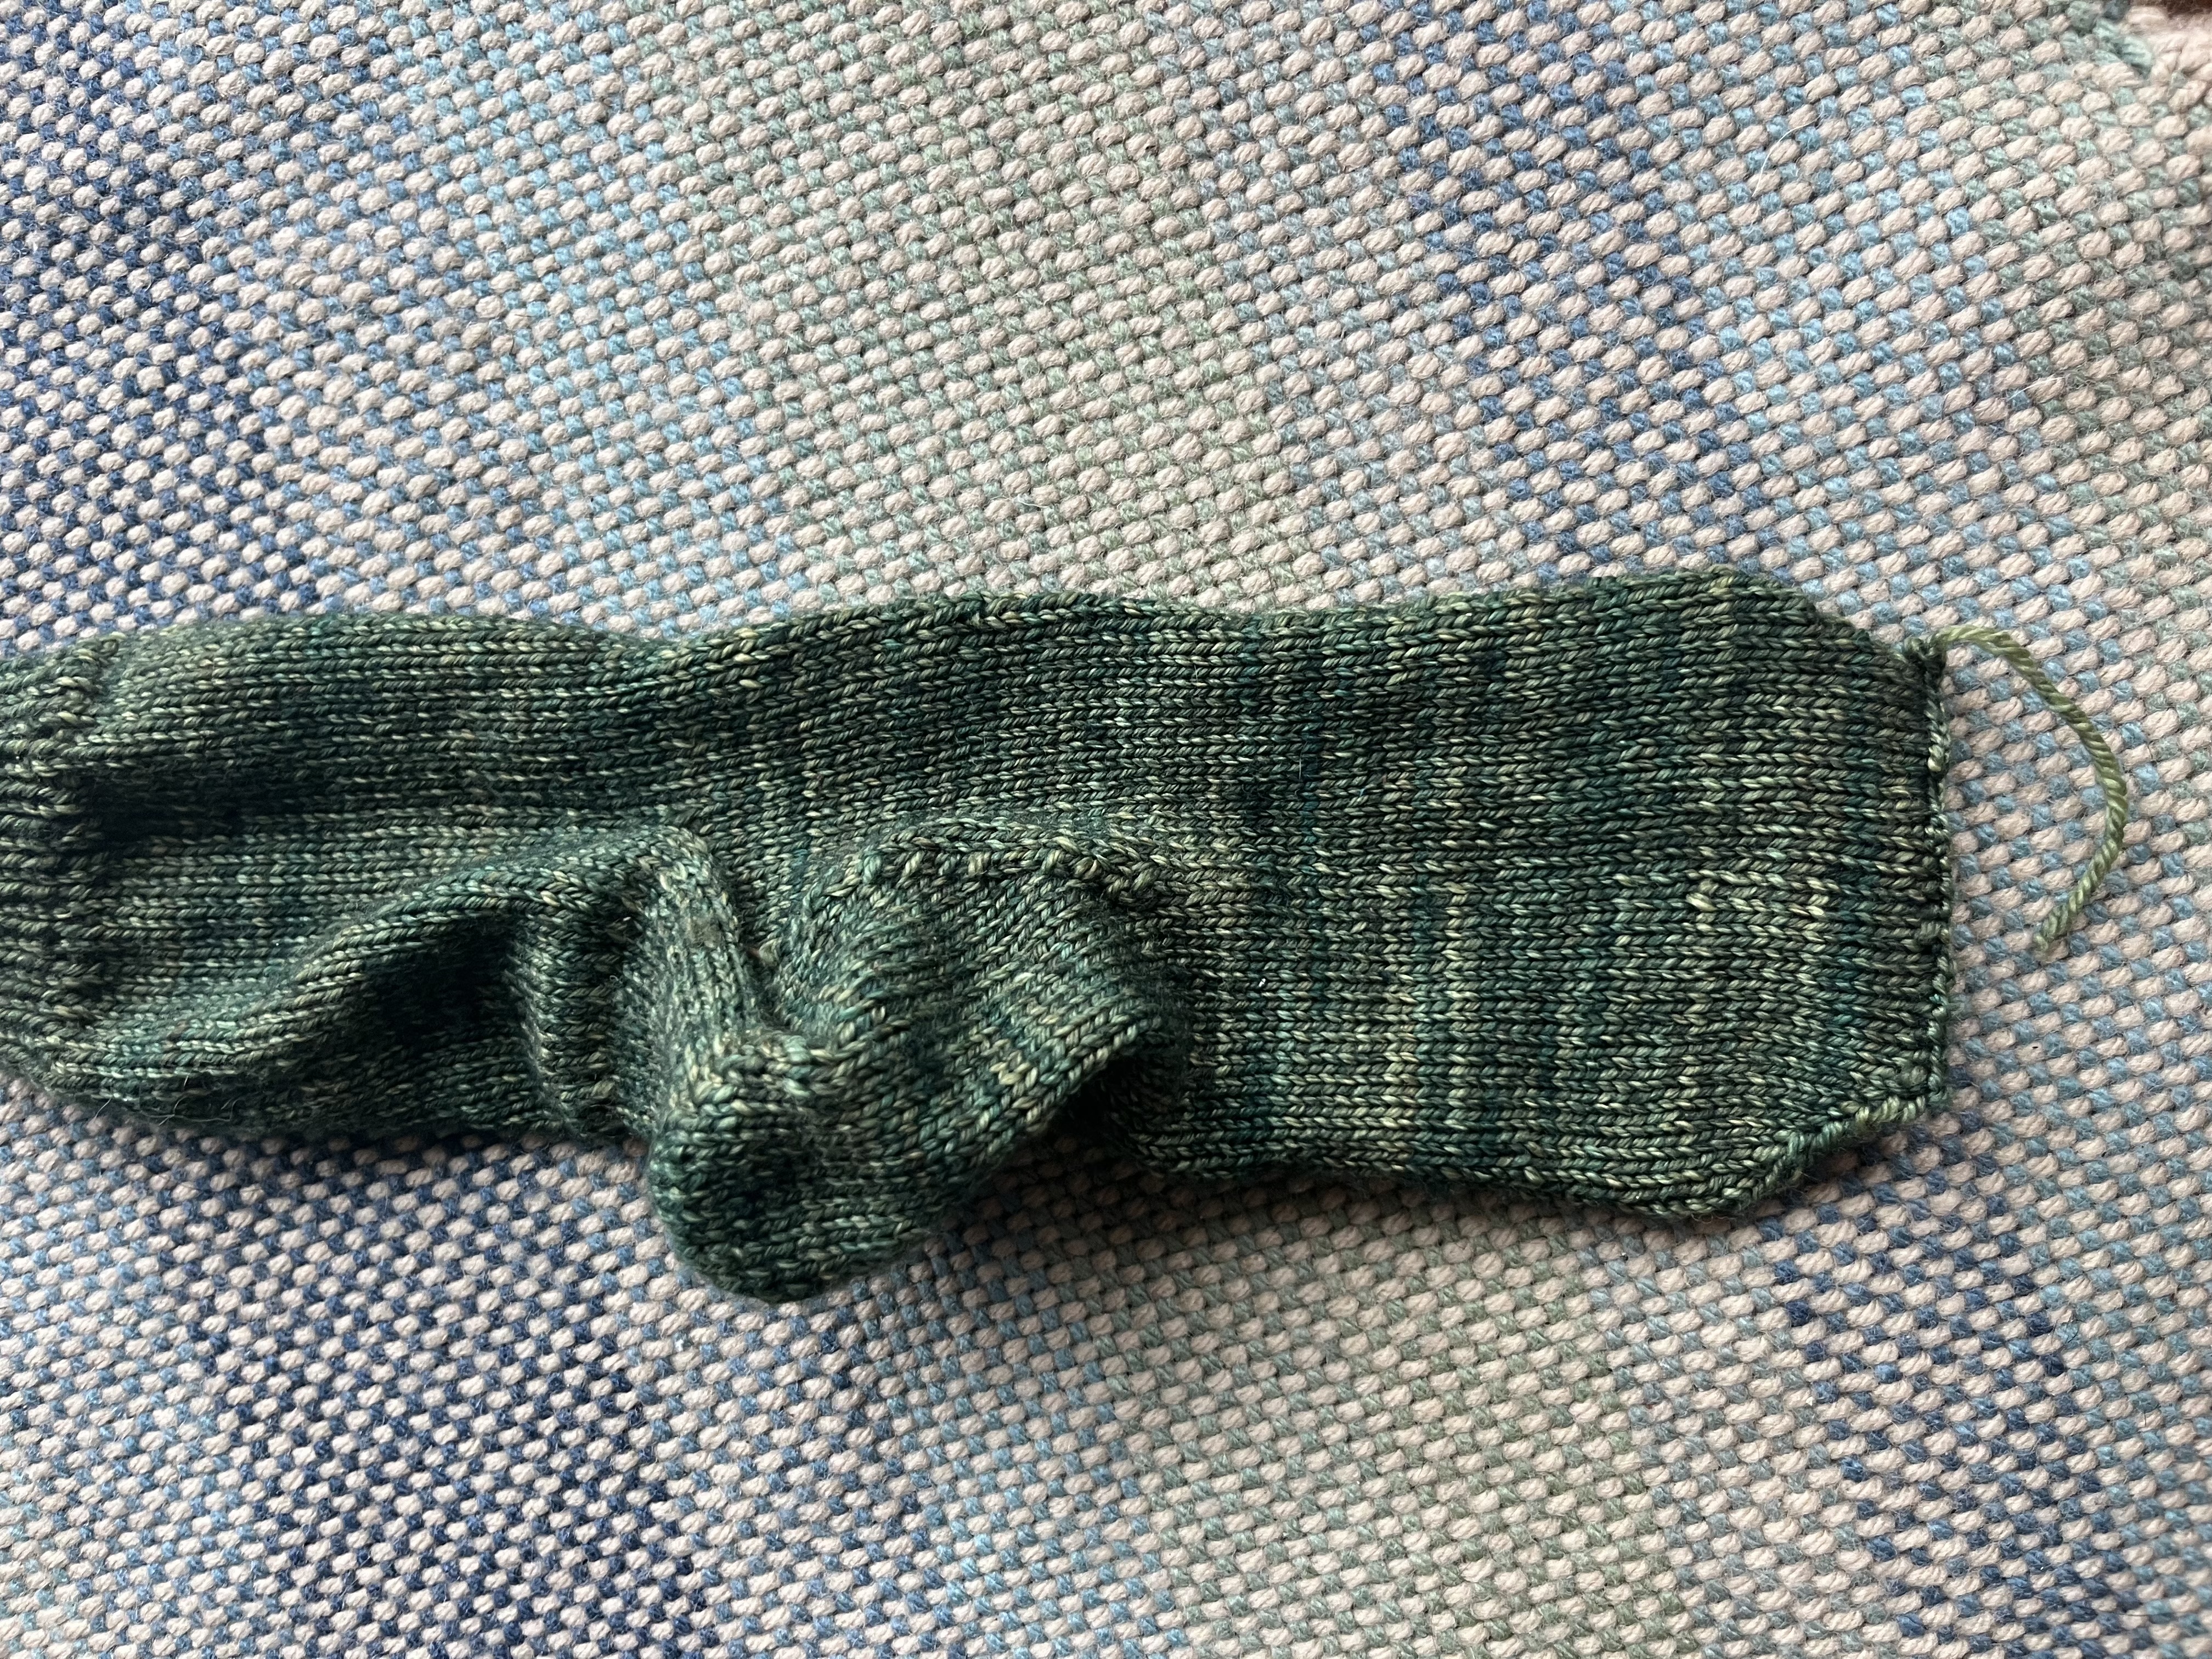
But the true colors aren’t know until the yarn is out of the depot and dry. The end results were not a golden yellow as I was hoping, and while a nice warm brown color was achieved I am not sure it was worth the effort.
I did not save the dye-pot despite there being pigment left because honestly I didn’t think it was worth the fiber. That being said I did refill the root bottle with vodka to see of a second extract might pull a bit different color. So the Nandina experiments will continue…
]]>
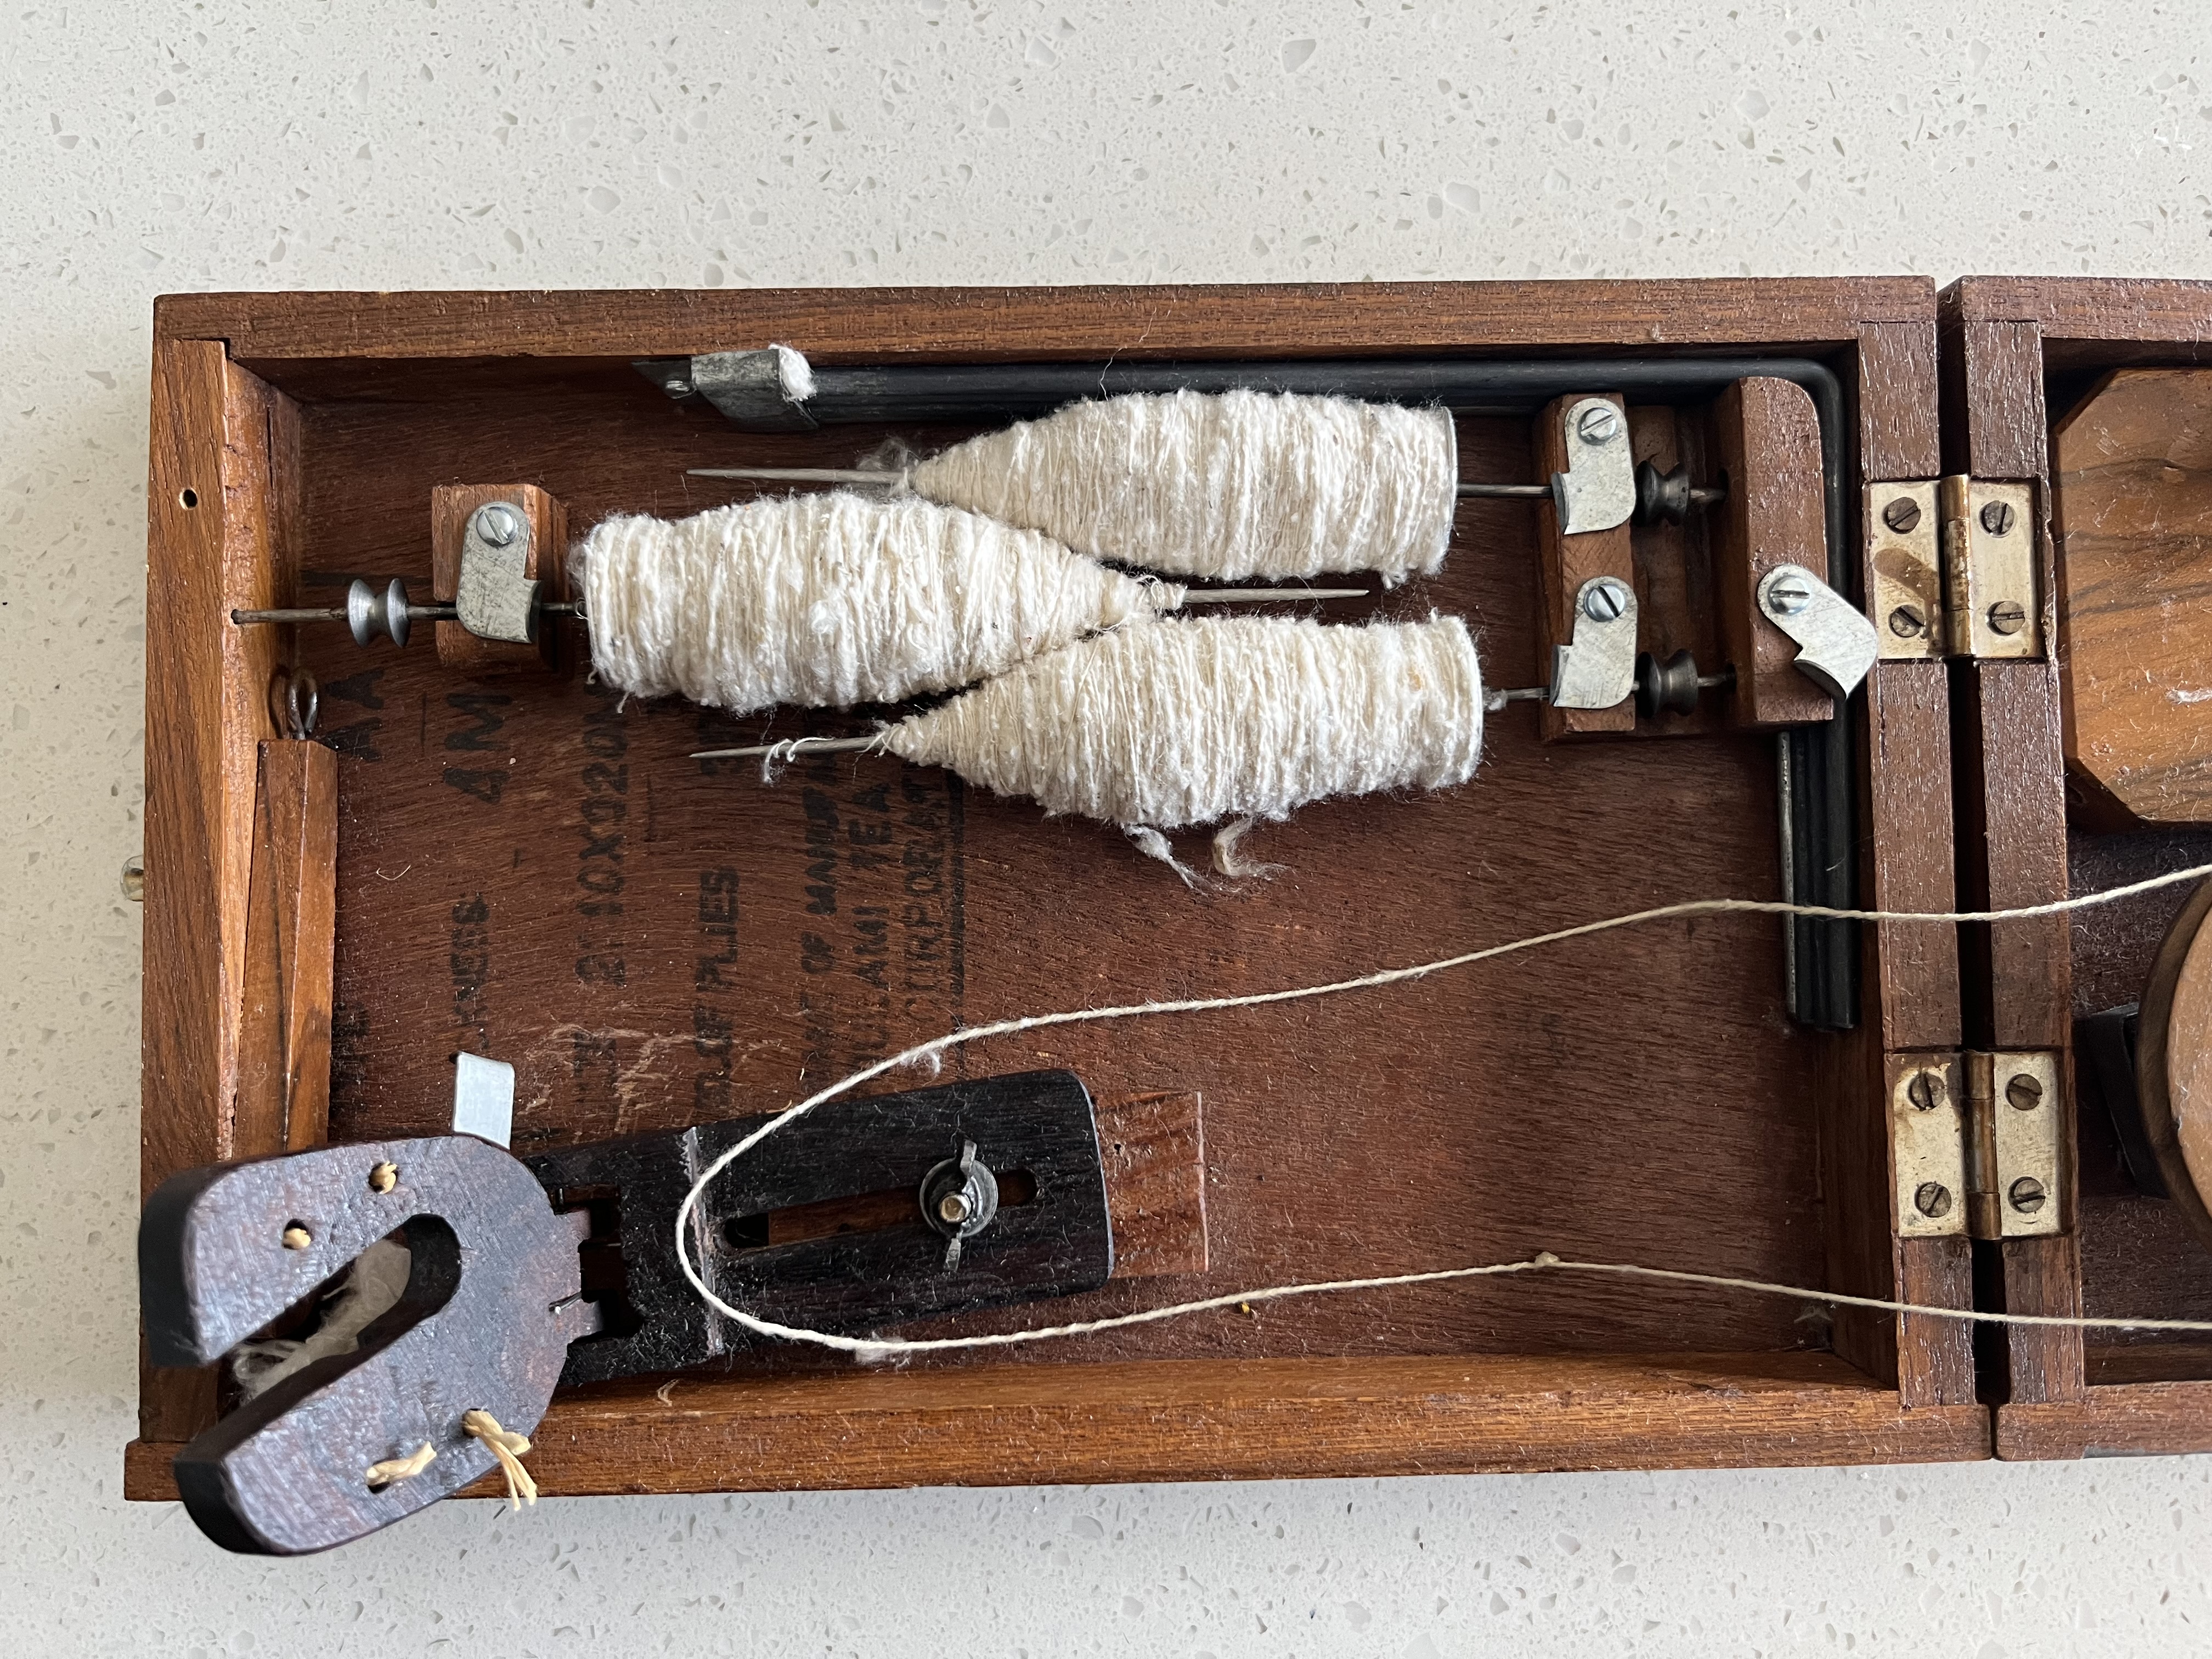
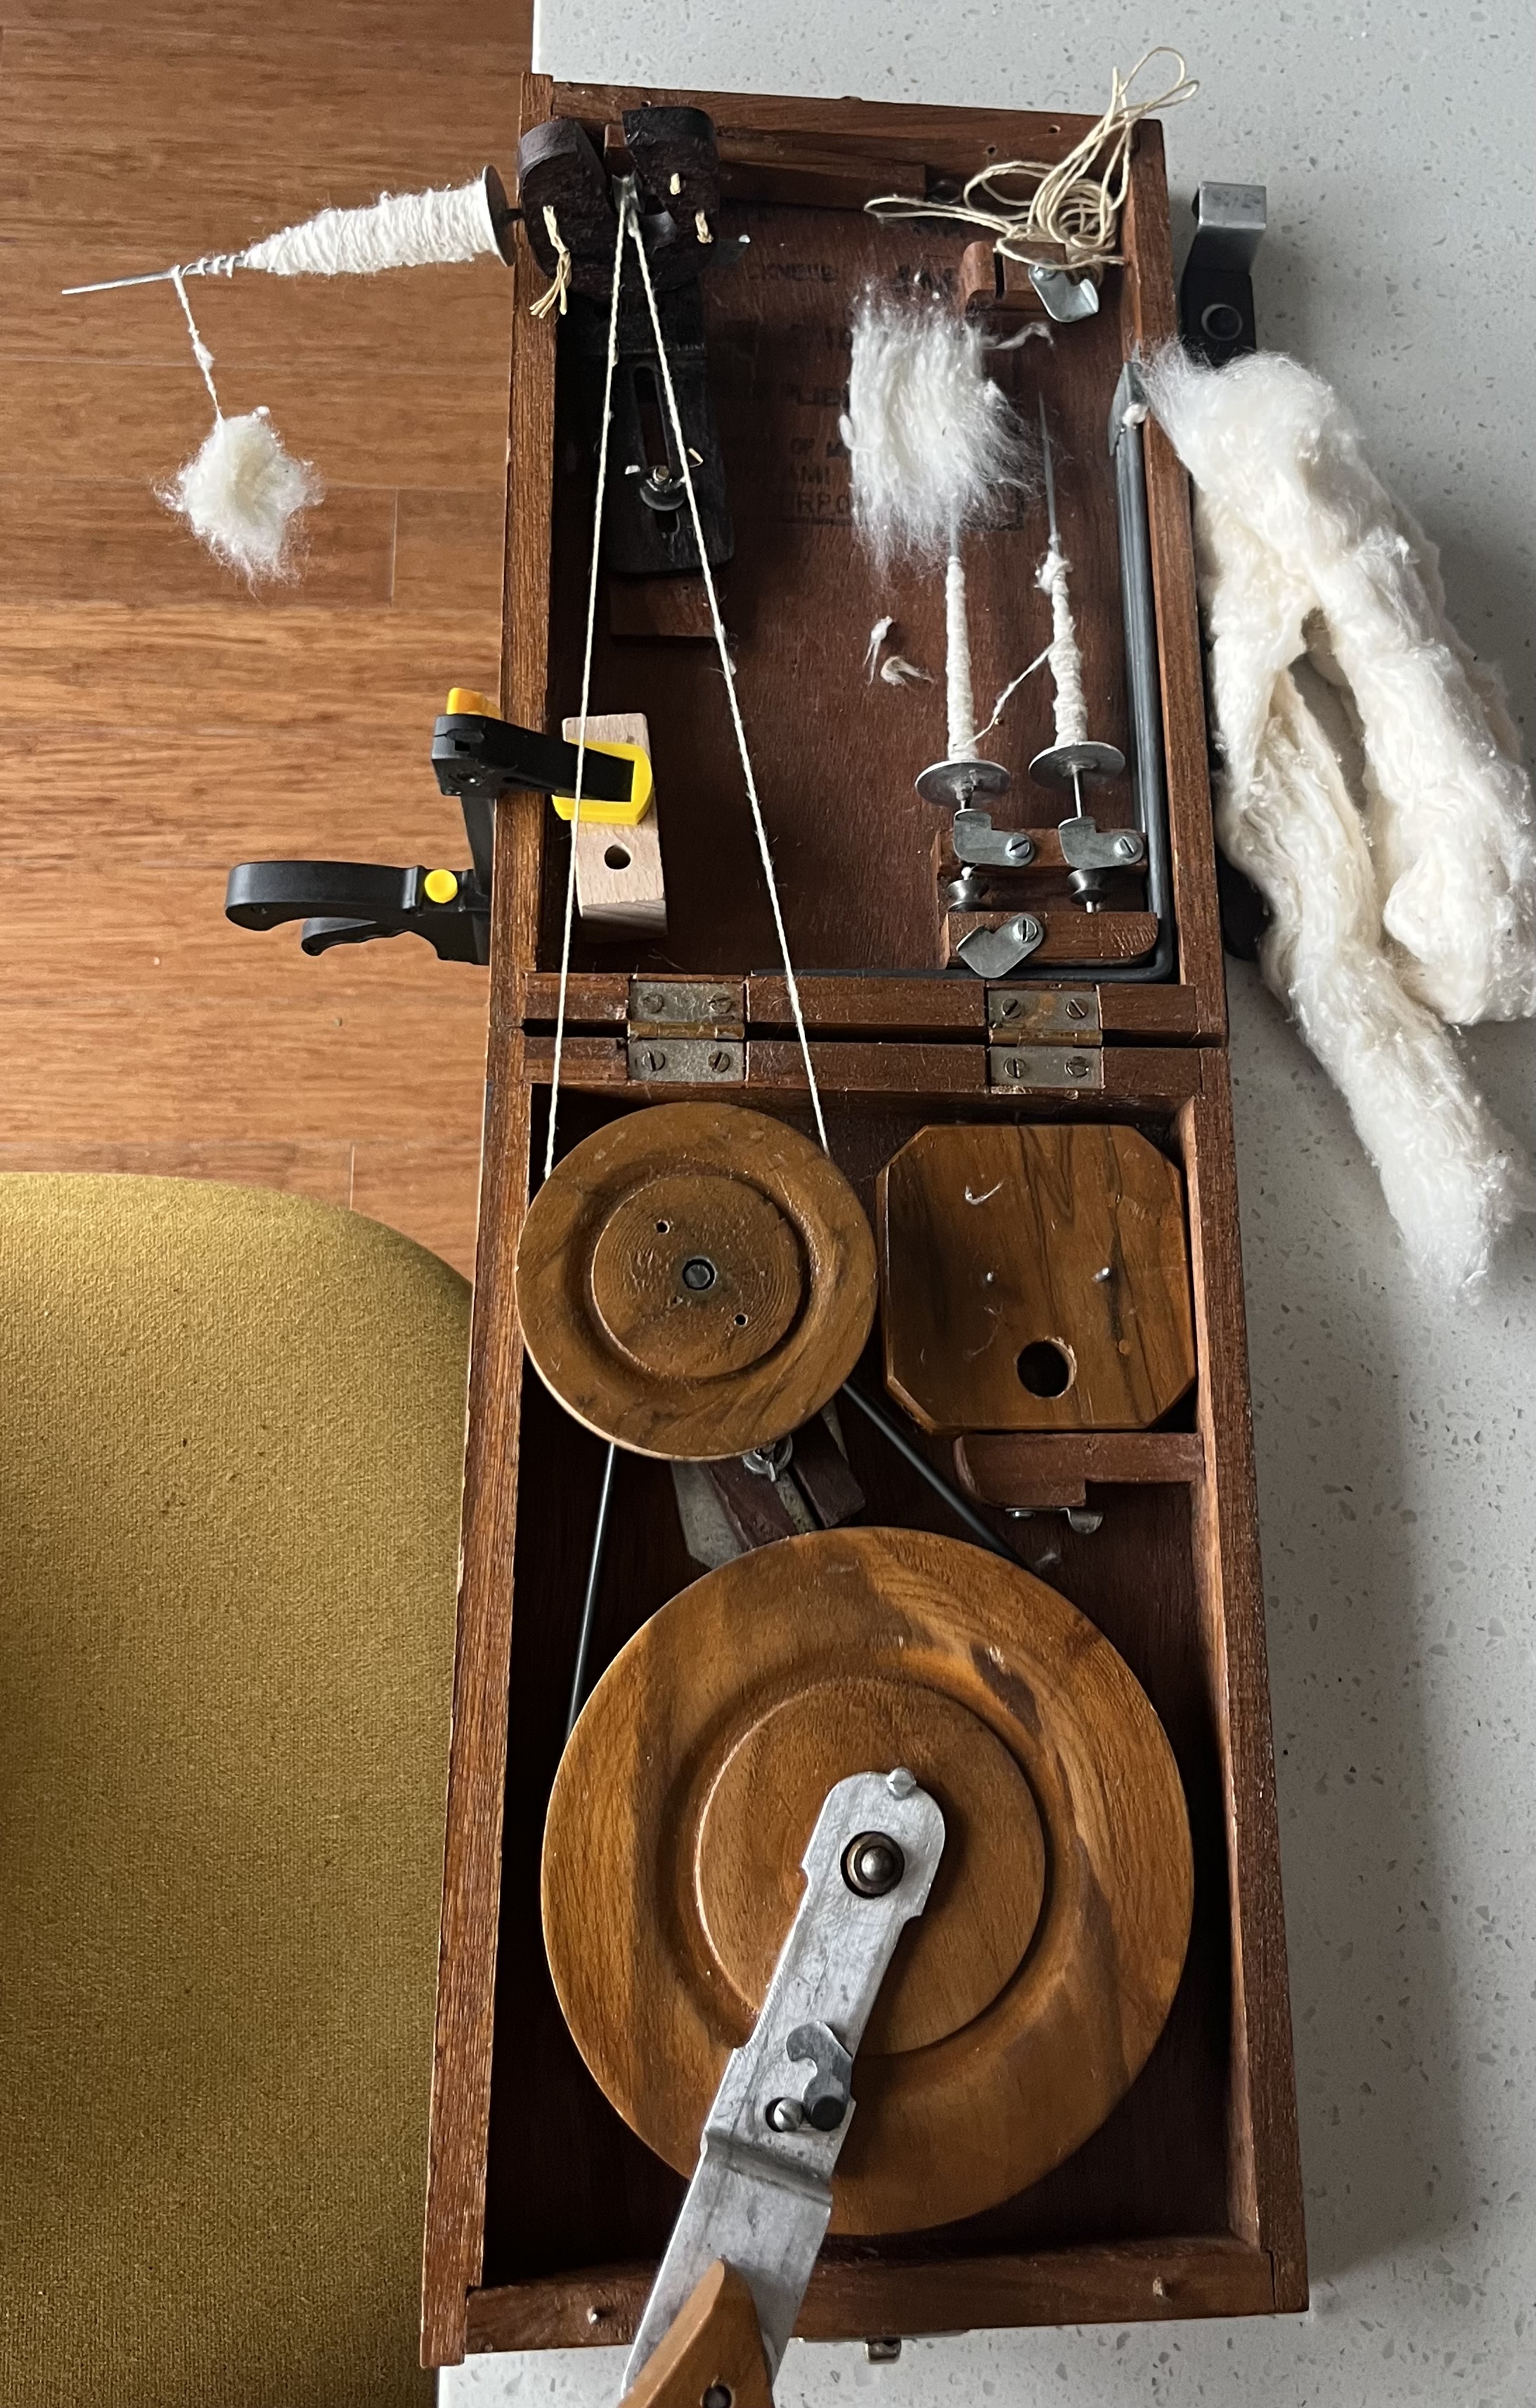 The speed you spin at depends on the staple length of your fiber. Fibers with long staple lengths can be spun slower/less and fibers with short staple length need to be spun faster/more to hold together. Charkhas are made to spin cotton which has a very short staple length, hence the 80:1 ratio. Many spinners used to European style wheels are often intimidate by book charkhas, because you only have one hand for fiber management while the other hand spins the wheel. However I encourage them to try it, because with such a short staple length I find one hand is plenty to draft with.
 So this long winded explanation of the mechanics puts us all on the same page of wondering if the charkha is built for spinning very short fibers like cotton, what on earth am I doing spinning silk with it?
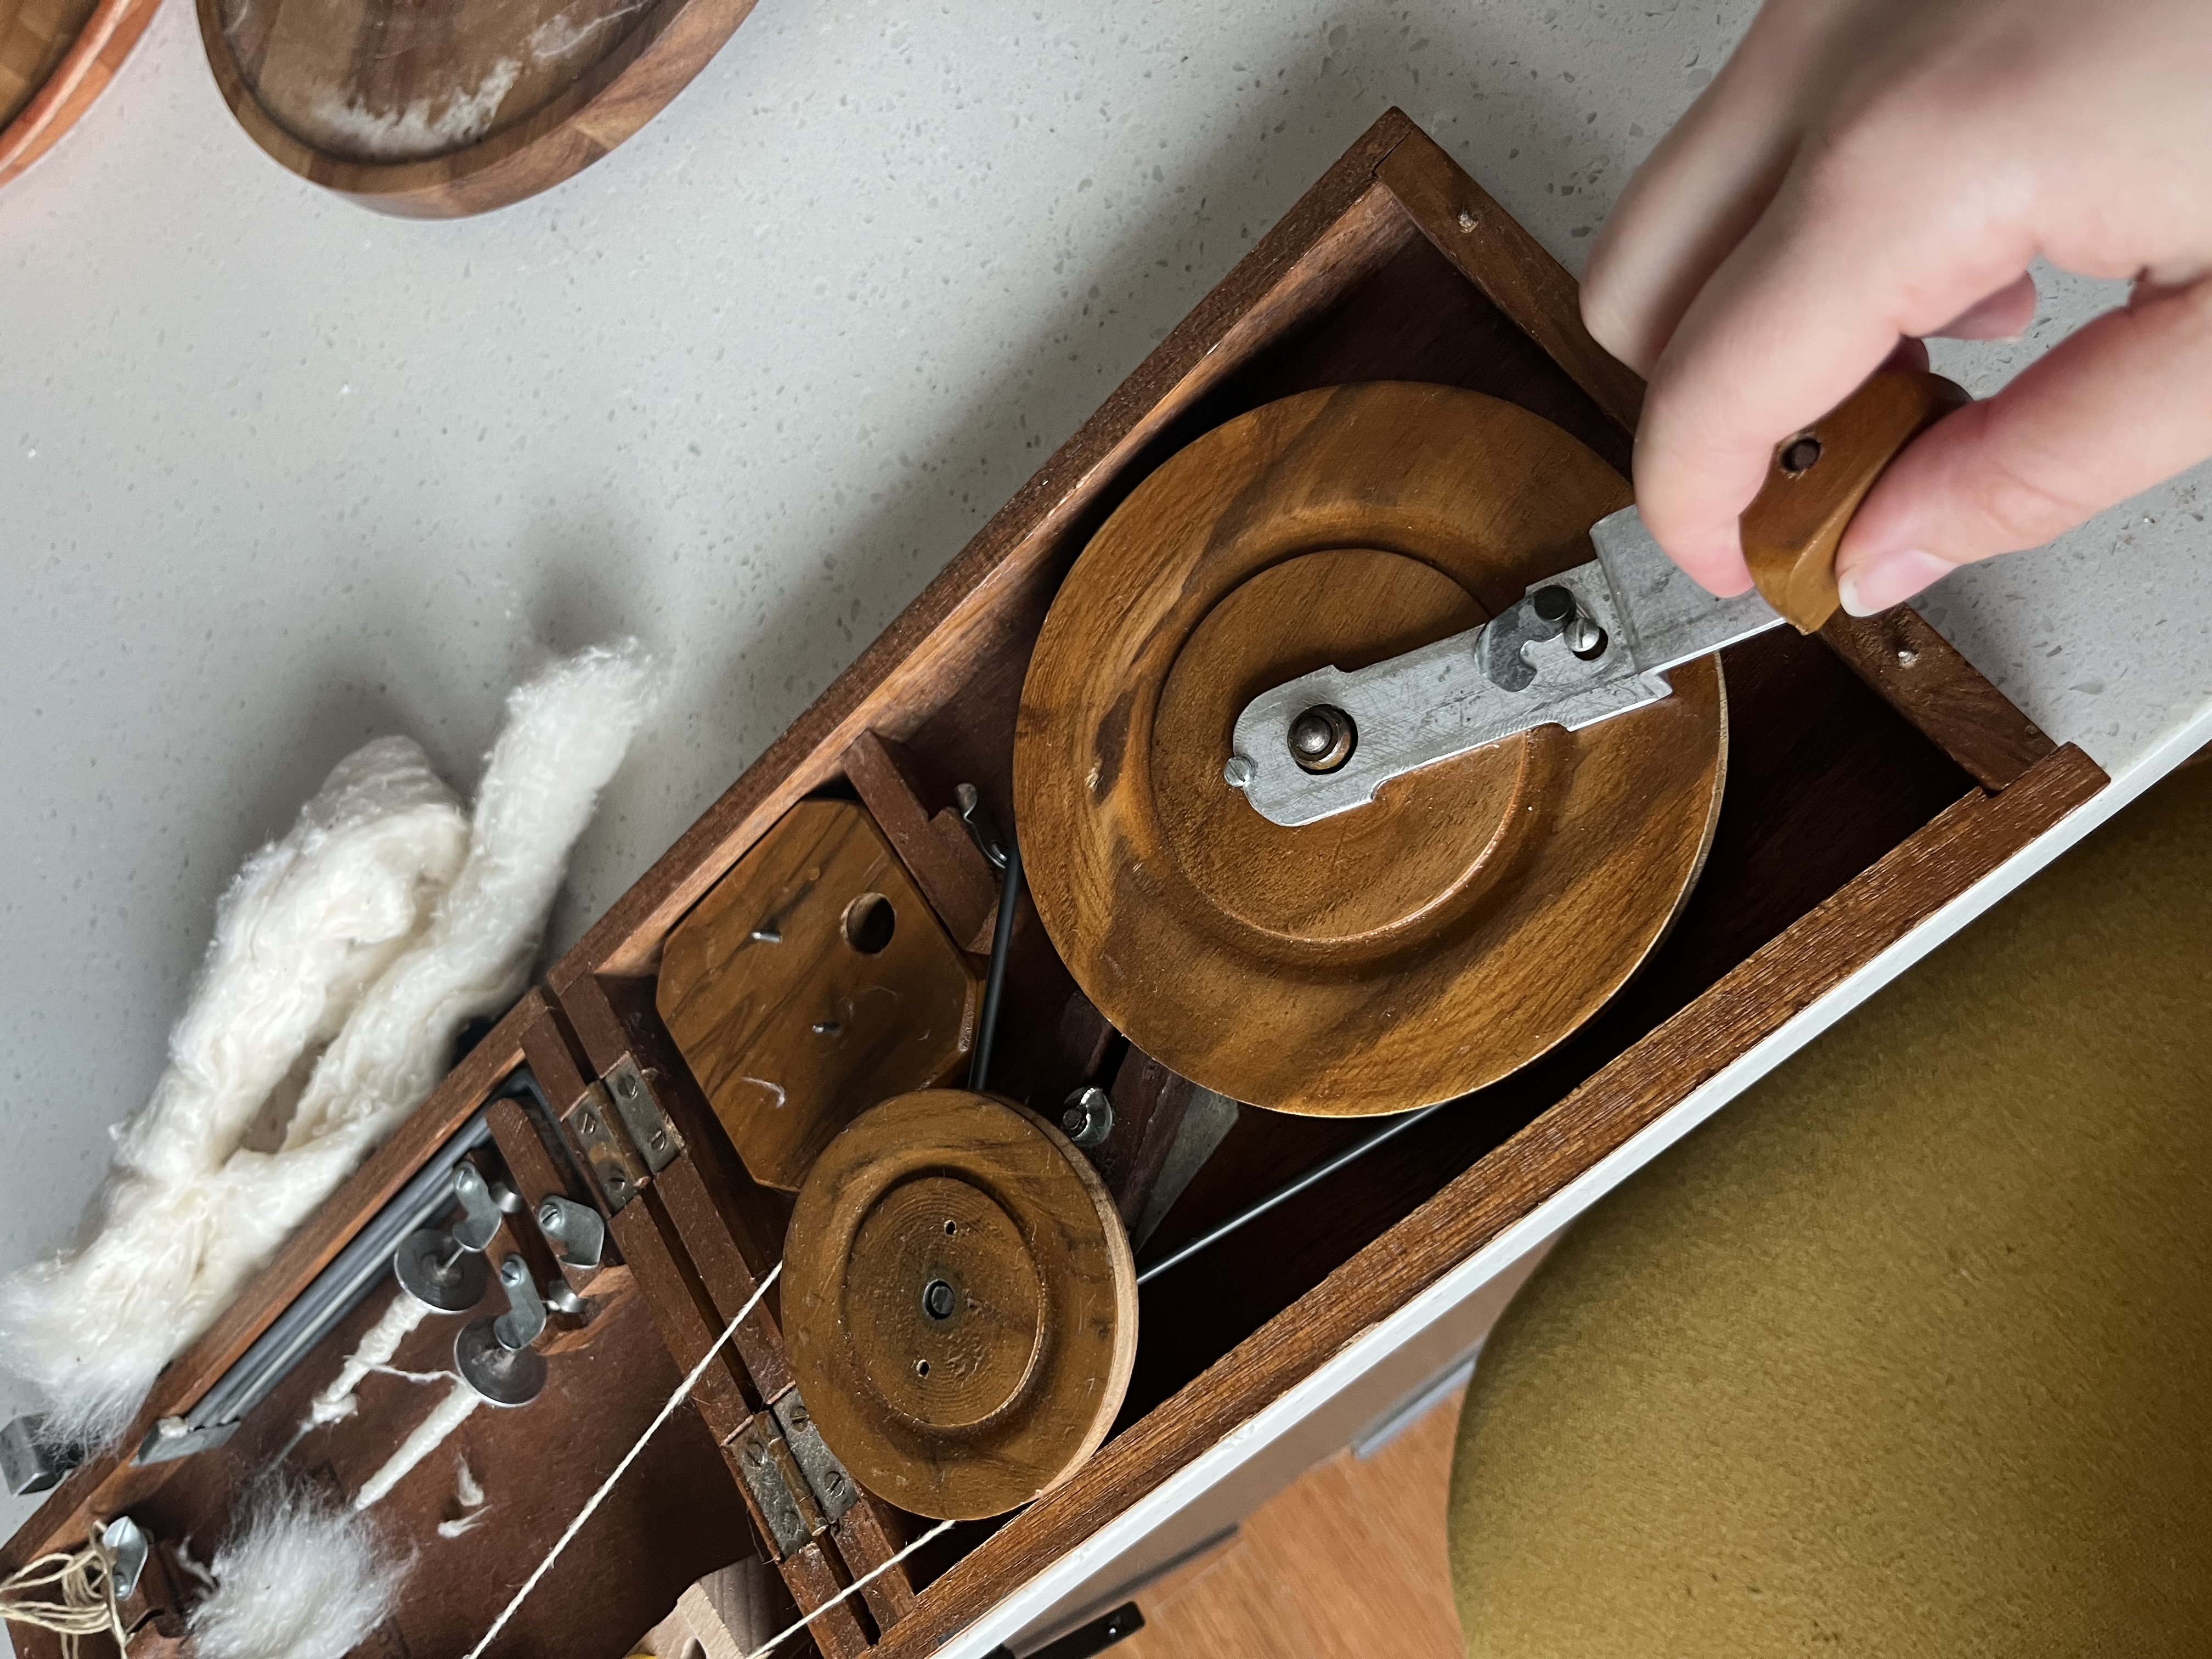 I found a big bag of roving at the creative reuse center that was tied shut and had “silk” written on the bad with sharpie, I figured I would give it a go and grabbed it. But when I tried spinning it on my drop spindle I got no where. The fibers were bourette silk, which made from the short by product fibers of silk processing. With such short and slippery fibers no matter the spindle or technique I could barely get it twisted into singles and I was not having a good time. The bag then got shoved in to storage box and forgotten about.
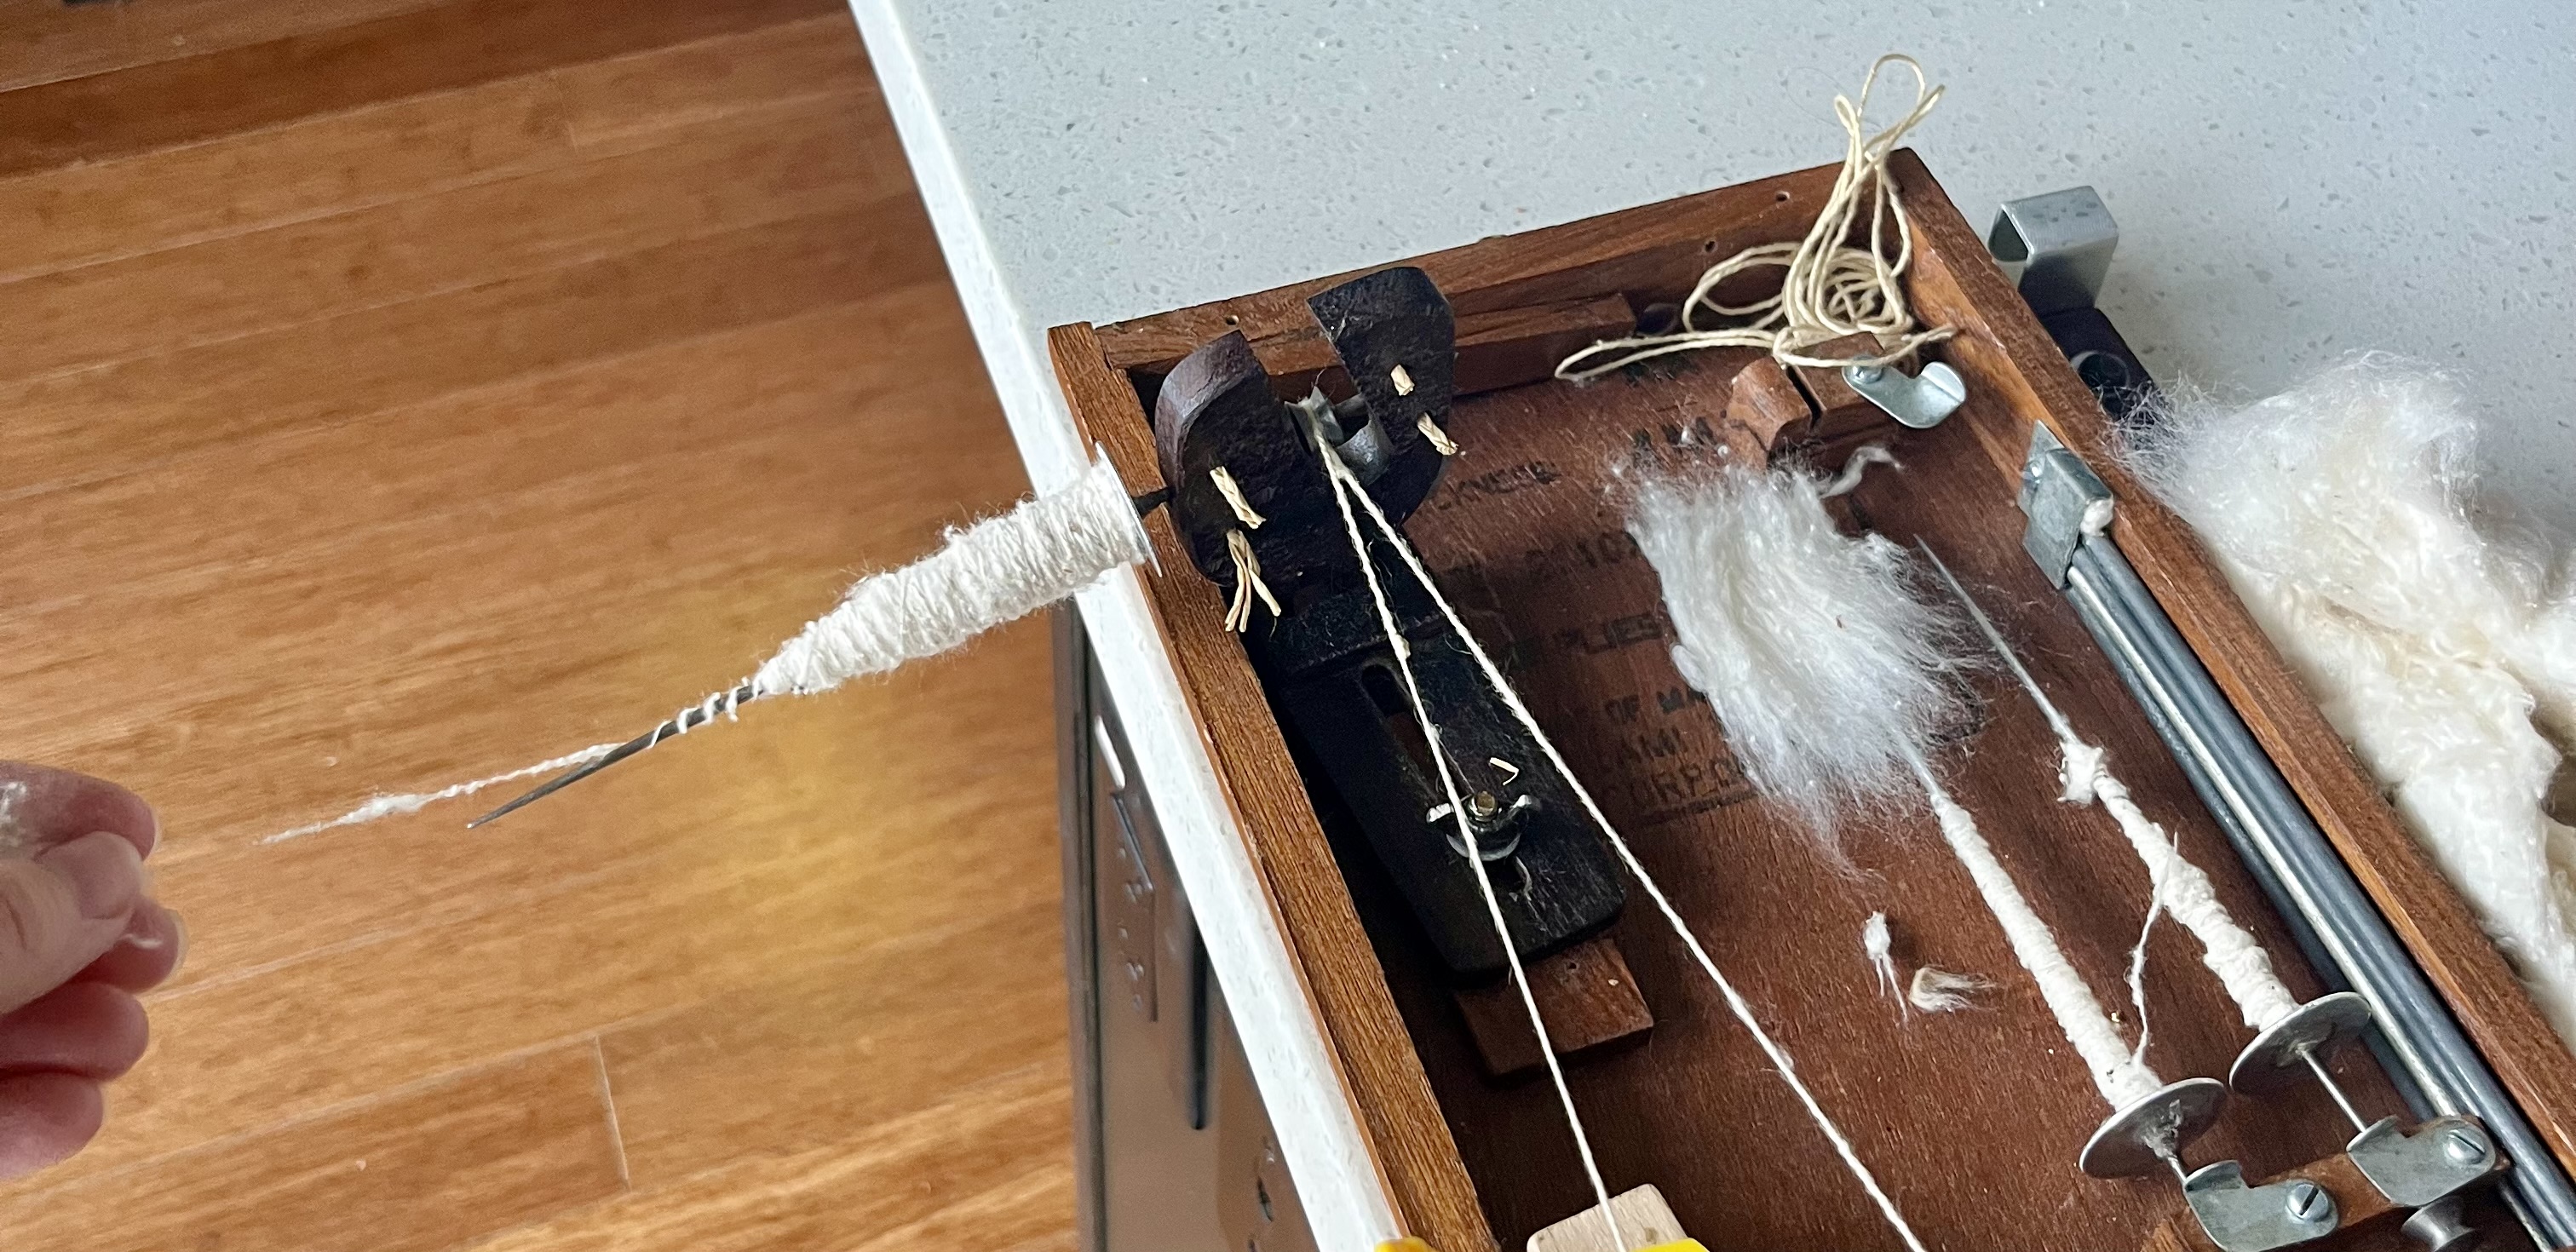 Then I bought my charkha and decided to give spinning the bourette silk another try, and it was a match made in heaven. The charka spins fast enough to lock the short fibers together. The horizontal draft direction minimizes the tension on the fibers before there is twist, meaning the slippery silk is less likely to slide apart and break as your spinning. And the long draw pulls beautifully from the roving after a small bit of fluffing. The two work perfectly together and it is so much fun to spin! I am currently chain plying using a drop spindle and trying to get 750 yards of finished yarn to weave with (a future post). I will keep you updated, but I still have at least 300 yards to go.
 ]]>
]]>